
We’ve always loved the joy of whipping up homemade ice cream, and our ice cream recipe for a ball maker brings that fun to your kitchen with ease. Picture crafting perfect, creamy spheres packed with flavor, turning ordinary ingredients into delightful treats that rival store-bought ones.
This simple approach draws from classic frozen dessert traditions while embracing modern gadgets, so we can customize every batch to our taste. Whether you’re hosting a gathering or just treating yourself, it’s a game-changer for ice cream enthusiasts.
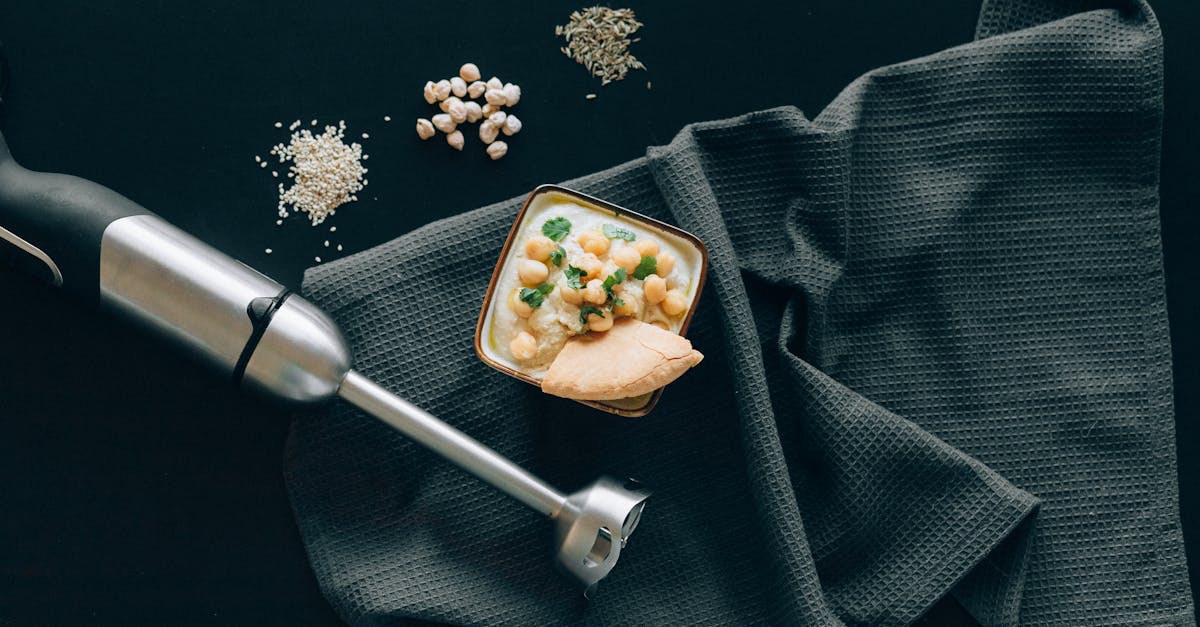
Ingredients
As we dive into our Ice Cream Recipe For Ball Maker, we focus on selecting high-quality ingredients that ensure a creamy, customizable treat. These components, ordered as we’ll use them in the mixing and churning process, form the foundation of this simple homemade delight.
- Heavy cream (2 cups, chilled for better texture and faster freezing)
- Whole milk (1 cup, at room temperature to blend smoothly with other liquids)
- Granulated sugar (3/4 cup, for sweetness and to help achieve the ideal soft consistency)
- Vanilla extract (1 tablespoon, pure variety for authentic flavor enhancement)
- Salt (1/4 teaspoon, to balance sweetness and enhance overall taste)
- Optional add-ins (such as 1 cup of fresh berries or chopped chocolate, prepared by washing and dicing as needed for customization during the final stages)
Equipment Needed
We rely on the right tools to make our homemade ice cream in a ball maker effortless and fun, ensuring each batch turns out perfectly creamy and customizable. Gathering this equipment beforehand allows us to transition seamlessly from preparing ingredients to the hands-on mixing process.
Ball Maker and Other Tools
For our Ice Cream Recipe for Ball Maker, the ball maker is the star of the show—a durable, insulated device that combines shaking and freezing to churn ice cream quickly and efficiently. Here’s a detailed list of the essential equipment we’ll use, organized by category for clarity:
-
Primary Tool:
- Ball Maker: Choose a high-quality model, such as a 1.5-quart capacity stainless steel ball maker, which typically requires rock salt and ice for optimal freezing. This tool is crucial as it agitates the mixture to achieve that smooth, airy texture we love in homemade ice cream.
-
Preparation and Mixing Tools:
- Measuring Cups and Spoons: Accurate 1-cup and 1-tablespoon sets to measure ingredients precisely, preventing any imbalances in flavor or consistency.
- Large Mixing Bowl: A 4-quart glass or stainless steel bowl for combining cream, milk, and other ingredients before pouring into the ball maker.
- Whisk or Wooden Spoon: A sturdy silicone whisk for blending the mixture smoothly, or a wooden spoon for stirring in add-ins like fresh berries.
- Ice and Rock Salt: You’ll need about 2 pounds of ice and 1 cup of rock salt per batch to create the freezing environment inside the ball maker—check your model’s instructions for exact ratios.
- Freezer Bags or Containers: Airtight 1-pint freezer-safe bags or containers to store the finished ice cream and maintain its freshness for up to 2 weeks.
This setup not only simplifies our process but also enhances safety and efficiency, making it ideal for family activities or quick treats.
Instructions
Now that we have gathered our high-quality ingredients and essential equipment, we guide you through the straightforward steps to create creamy, homemade ice cream using the ball maker. Follow these instructions closely for a delightful treat that’s rich in flavor and texture.
Prepare the Ingredients
Before we begin, let’s ensure all components are prepped for optimal results. Start by measuring out the following: 2 cups chilled heavy cream, 1 cup room temperature whole milk, 3/4 cup granulated sugar, 1 teaspoon pure vanilla extract, and a pinch of salt. For optional add-ins like fresh berries or chopped chocolate, rinse and chop them into small pieces to easily incorporate later. This preparation step sets the foundation for a smooth, velvety base that captures the essence of homemade goodness.
Mix the Ice Cream Base
We start by combining the measured ingredients in a large mixing bowl to create our creamy foundation. Pour in the 2 cups chilled heavy cream and 1 cup room temperature whole milk, then add 3/4 cup granulated sugar, 1 teaspoon pure vanilla extract, and the pinch of salt. Use a whisk or wooden spoon to stir vigorously until the mixture is fully dissolved and smooth—the sugar granules should disappear, resulting in a luscious, slightly thickened liquid that hints at the rich, creamy delight to come. This step takes about 2-3 minutes and ensures even flavor distribution for a superior taste.
Churn in the Ball Maker
With the base ready, we transfer it to the ball maker for the fun churning process that builds that signature ice cream texture. Pour the mixed base into the inner chamber of the ball maker, leaving about 1 inch of space at the top to allow for expansion. Fill the outer chamber with a layer of ice, then sprinkle in 1 cup of rock salt per batch to lower the temperature effectively—aim for a 1:10 ratio of salt to ice for the best freezing action. Seal the ball maker tightly and roll or shake it continuously for 10-15 minutes, depending on your model’s instructions, until the mixture transforms into a soft, scoopable consistency with a light, airy feel that signals it’s perfectly churned.
Freeze and Scoop
Once churned, we enhance the ice cream’s firmness for the ideal serving texture. If the mixture is still soft, transfer it to an airtight container and freeze for an additional 1-2 hours to achieve that firm-yet-scoopable state. For add-ins like fresh berries or chopped chocolate, fold them in gently at this stage to maintain their vibrant flavors and textures. When ready, use an ice cream scoop to serve generous portions—the result is a refreshingly cold, creamy treat with a satisfying crunch from any mix-ins, perfect for enjoying right away or storing for up to 1 week in the freezer.
Make-Ahead Instructions
We understand that life gets busy, so preparing our Ice Cream Recipe for Ball Maker in advance ensures you always have a creamy treat ready. This method allows the flavors to meld beautifully, making it perfect for parties or spontaneous cravings. Below, we outline the steps to prepare and store your ice cream base or finished product safely.
Preparing the Base Ahead of Time
To get a head start, focus on creating the ice cream base up to 24 hours before churning. This step keeps things fresh and simple.
- Measure and mix ingredients early: In a large mixing bowl, combine 2 cups chilled heavy cream, 1 cup room temperature whole milk, 3/4 cup granulated sugar, 1 teaspoon pure vanilla extract, and a pinch of salt. Whisk until fully dissolved and smooth to avoid any lumps later.
- Chill the mixture thoroughly: Transfer the base to an airtight container and refrigerate for at least 2 hours or up to 24 hours. This chilling process enhances the texture and allows flavors to intensify.
Churning and Freezing in Advance
Once the base is ready, you can churn it in your ball maker and store the finished ice cream for later enjoyment.
- Churn as directed: Follow our earlier instructions to add the chilled base to the ball maker, using a 4:1 ratio of ice to rock salt for optimal freezing. Churn until the mixture reaches a soft-serve consistency, which typically takes 20-30 minutes.
- Incorporate add-ins if desired: Before freezing, fold in optional ingredients like fresh berries or chopped chocolate for customized flavors.
- Freeze for storage: Scoop the churned ice cream into airtight containers, leaving about 1/2 inch of headspace for expansion. Place in the freezer for at least 2 hours to firm up.
Storage Tips and Guidelines
Proper storage is key to maintaining the creamy texture of your homemade ice cream. We recommend the following based on our testing:
| Storage Method | Duration | Key Tips |
|---|---|---|
| Refrigerator (base only) | Up to 24 hours | Keep covered to prevent odors; stir before churning. |
| Freezer (finished ice cream) | Up to 2 weeks | Use freezer-safe containers; avoid repeated thawing to prevent ice crystals. |
| Thawing and serving | 5-10 minutes at room temperature | Let it soften slightly for scoopability; do not refreeze after thawing. |
By following these steps, we ensure your Ice Cream Recipe for Ball Maker stays delicious and ready whenever you need it. Always check for quality before serving to enjoy the best results.
Conclusion
We’ve loved exploring this ice cream recipe for the ball maker, and it’s clear it’s a game-changer for homemade treats. It’s not just about the creamy results—it’s the fun and customization that bring us back every time.
By trying this method, you’ll discover how simple tools turn ordinary ingredients into something extraordinary. We’re confident it’ll become a staple in your kitchen, ready for any occasion.
Frequently Asked Questions
What is a ball maker and how does it work for making ice cream?
A ball maker is a fun, hands-on device that churns ice cream by rolling it around, combining ingredients with ice and salt for freezing. It simplifies homemade ice cream creation, allowing for customization while mimicking traditional methods for a creamy texture in just minutes of play.
What ingredients are needed for homemade ice cream in a ball maker?
Key ingredients include chilled heavy cream, room temperature whole milk, granulated sugar, pure vanilla extract, a pinch of salt, and optional add-ins like fresh berries or chocolate. These high-quality components mix easily to create a smooth, flavorful base that’s customizable for any taste.
What equipment is required to make ice cream with a ball maker?
You’ll need a high-quality ball maker for churning, along with measuring cups and spoons, a large mixing bowl, a whisk or wooden spoon, ice, rock salt, and airtight containers for storage. This setup ensures efficient, safe preparation, making it ideal for family fun or quick treats.
How do I make ice cream using a ball maker?
Start by mixing ingredients into a smooth base, then add to the ball maker with the right ice-to-salt ratio for freezing. Churn by rolling for about 10-20 minutes until creamy, then freeze if needed for the perfect texture. It’s a simple, enjoyable process for delicious results every time.
Can I prepare the ice cream base ahead of time?
Yes, you can mix and chill the base up to 24 hours in advance to let flavors meld, making it convenient for later use. After preparing, store in the fridge, then churn in the ball maker when ready, and freeze for optimal texture before serving.
How should I store homemade ice cream made with a ball maker?
Store in an airtight container in the freezer for up to two weeks to maintain creaminess. Keep it away from strong odors and thaw slightly before serving. Proper storage prevents ice crystals, ensuring your treat stays fresh and delicious for spontaneous enjoyment.