
We’ve always loved the fiery kick and vibrant tang of cherry peppers, making them a staple in our kitchen for adding zest to everything from salads to sandwiches. Originating from the sunny regions of Italy, these little gems pack a punch that’s both spicy and sweet, perfect for home canning to preserve their fresh flavor all year round.
In our Canned Cherry Peppers Recipe, we’ll guide you through a simple process that captures that authentic taste, ensuring your pantry is stocked with homemade goodness that’s sure to impress at any gathering.
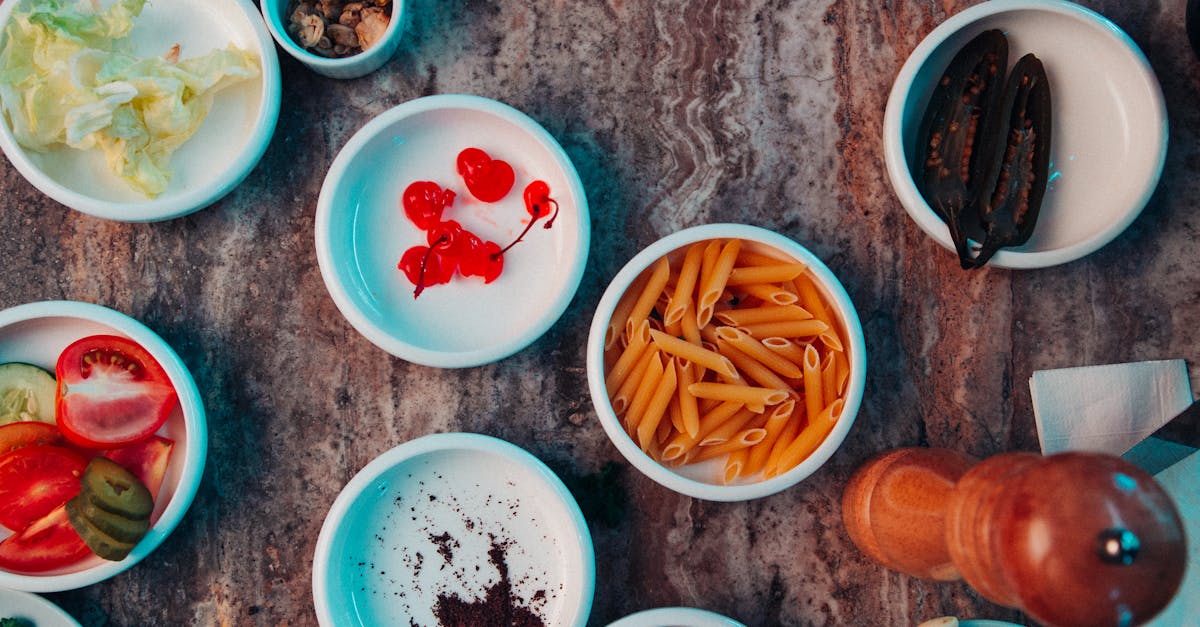
Ingredients
As we dive into our Canned Cherry Peppers Recipe, let’s gather the essential ingredients that bring out the spicy-sweet magic of these cherry peppers. We’ll list them in the order we use them, with prep notes for clarity and precision.
- Fresh cherry peppers: 2 pounds, whole and unblemished, washed and stems removed – these form the star of our recipe, providing that signature Italian-inspired zing.
- White vinegar: 4 cups – used for the pickling brine to preserve the peppers’ crisp texture and tangy flavor.
- Water: 4 cups – added to the brine mixture to balance acidity and ensure even canning.
- Kosher salt: 2 tablespoons – dissolved in the brine for seasoning and to enhance the peppers’ natural taste.
- Garlic cloves: 6 cloves, peeled and lightly crushed – incorporated next for their aromatic depth that complements the peppers.
- Dried oregano: 1 tablespoon – sprinkled in during assembly to infuse herbal notes.
- Bay leaves: 4 leaves – placed in jars to add subtle earthy undertones as the peppers pickle.
- Granulated sugar: 1/4 cup – optional for the brine to mellow the heat and highlight sweetness, stirred in when preparing the liquid.
Equipment Needed
Now that we have gathered our fresh ingredients for the Canned Cherry Peppers Recipe, we turn our attention to the essential equipment. Having the right tools ensures a safe and efficient canning process, allowing us to preserve those spicy-sweet flavors with confidence.
To prepare and can cherry peppers effectively, we recommend the following equipment. We’ve organized them in the order of use during the recipe:
- Canning jars and lids: We need pint-sized or quart-sized glass jars with new lids and bands to store the peppers securely. Sterilize them beforehand to prevent contamination.
- Large stockpot or canning pot: This 10- to 12-quart pot is crucial for boiling the jars and creating the brine—ensure it has a rack for even heating.
- Jar lifter: A must-have for safely removing hot jars from boiling water without risking burns—grab one with a secure grip for precise handling.
- Funnel: Use a wide-mouthed canning funnel to fill jars with peppers and brine neatly, minimizing spills and waste.
- Ladle: A heat-resistant ladle helps us pour the hot brine into jars accurately, ensuring even distribution.
- Knife and cutting board: Essential for slicing or stemming the cherry peppers—opt for a sharp chef’s knife and a sturdy board to maintain efficiency.
- Measuring cups and spoons: Accurate measurements are key, so we rely on a set of stainless steel measuring tools for ingredients like vinegar and salt.
By preparing this equipment in advance, we set ourselves up for a seamless canning experience that highlights the vibrant taste of our homemade cherry peppers.
Instructions
Now that we have gathered our fresh ingredients and essential equipment, we guide you through the straightforward steps to create our flavorful Canned Cherry Peppers Recipe. Each step ensures safety and maximizes the spicy-sweet taste that makes these peppers a pantry staple.
Prep the Peppers
First, we select firm cherry peppers and rinse them under cold water to remove any dirt. Using a sharp knife on a cutting board, we remove the stems from 1 pound of peppers and make a small slit in each one—this allows the brine to infuse deeply and enhances their tangy flavor. For added precision, wear gloves if the peppers are particularly spicy to avoid irritation on our hands.
Make the Brine
Next, we combine the brine ingredients in a large stockpot to create a savory base that preserves the peppers’ vibrant taste. Add 2 cups of white vinegar, 2 cups of water, 2 tablespoons of kosher salt, 1 tablespoon of dried oregano, 4 peeled garlic cloves, and 2 bay leaves—along with 1 tablespoon of granulated sugar if you prefer a touch of sweetness. Bring the mixture to a boil over medium-high heat then reduce to a simmer for 5 minutes, allowing the aromatic herbs and garlic to release their fragrant essence that will perfectly complement the peppers’ heat.
Fill and Seal the Jars
With the brine ready, we pack the prepared cherry peppers into our sterilized canning jars for a secure seal. Using a funnel and ladle, we fill each jar with peppers, leaving ½ inch of headspace at the top—add a garlic clove and a bay leaf to each jar for extra flavor. Pour the hot brine over the peppers to cover them completely, then wipe the jar rims with a clean cloth, place the lids on top, and screw on the bands until fingertip-tight to ensure proper sealing and prevent spoilage.
Process the Jars
To safely preserve our Canned Cherry Peppers, we process the jars in a boiling water bath, which eliminates bacteria and extends shelf life. Below is a quick reference table for processing times based on altitude, as accurate timing is crucial for canning success:
| Altitude (feet) | Processing Time (minutes) |
|---|---|
| 0–1,000 | 10 |
| 1,001–3,000 | 15 |
| 3,001–6,000 | 20 |
| Above 6,000 | 25 |
Submerge the filled jars in a large stockpot of boiling water using a jar lifter, ensuring they are covered by at least 1 inch of water, and start the timer once the water returns to a full boil.
Cool and Store
After processing, we carefully remove the jars from the water bath using the jar lifter and place them on a clean towel to cool undisturbed for 12 to 24 hours—the satisfying pop of the lids indicates a proper seal. Once cooled, check that each lid is concave and store the jars in a cool dark place like a pantry where they will keep for up to 1 year, ready to add zest to your favorite dishes.
Conclusion
We’ve loved sharing this simple way to make canned cherry peppers that bring bold flavors to your table. It’s rewarding to preserve these gems at home, letting you enjoy their spicy-sweet kick year-round.
By trying this recipe, you’re building skills that elevate everyday meals and impress friends. Let’s get canning—your pantry will thank us!
Frequently Asked Questions
What are cherry peppers and their origins?
Cherry peppers are small, vibrant peppers known for their sweet and spicy flavor, perfect for adding zest to salads, sandwiches, and more. Originating from Italy, they offer a unique taste that’s easy to preserve through home canning, ensuring you enjoy their appeal year-round.
What ingredients are needed for a canned cherry peppers recipe?
For a basic canned cherry peppers recipe, you’ll need fresh cherry peppers, white vinegar, water, kosher salt, garlic cloves, dried oregano, bay leaves, and optional granulated sugar. This simple list ensures a flavorful brine that infuses the peppers, making preparation straightforward and delicious.
What equipment is required for canning cherry peppers?
Essential equipment includes canning jars and lids, a large stockpot or canning pot, a jar lifter, a funnel, a ladle, a knife and cutting board, and measuring cups and spoons. Having these tools ready promotes safety and efficiency, helping you achieve professional results at home.
How do I prepare and can cherry peppers at home?
Start by rinsing and slitting the peppers for better flavor absorption. Make a brine with vinegar, water, salt, oregano, garlic, bay leaves, and sugar if desired, then boil it. Pack peppers into jars, cover with hot brine, seal, and process in a boiling water bath for the recommended time based on your altitude to ensure safety and preservation.
How long do canned cherry peppers last, and how should I store them?
Properly canned cherry peppers can last up to a year when stored in a cool, dark place. After processing, cool the jars and check for seals (listen for the pop). Always inspect for signs of spoilage before use, and refrigerate any opened jars for up to a month to maintain freshness.
Can I customize the canned cherry peppers recipe?
Yes, you can adjust the recipe by varying the amount of sugar for sweetness or adding herbs like basil for extra flavor. Experiment with different pepper varieties, but always follow safe canning practices to avoid risks, ensuring your homemade version suits your taste while staying delicious and safe.