
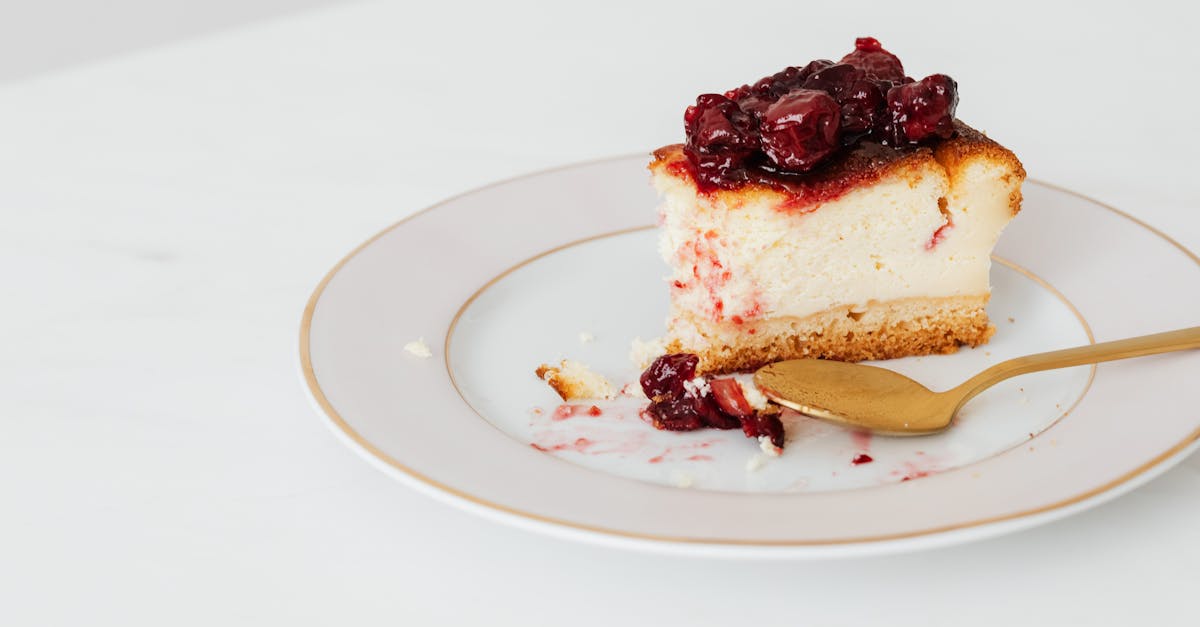
We’ve always been smitten with marionberries, those plump Pacific Northwest natives that blend the best of blackberries and raspberries for a tart-sweet punch. Our Marionberry Preserves Recipe celebrates this Oregon gem, turning fresh-picked berries into a versatile spread that’s perfect for breakfast or baking.
Making preserves at home lets us lock in that vibrant flavor, offering a simple way to savor summer all year. Whether you’re new to canning or a seasoned pro, this recipe promises delicious results with minimal effort.
Ingredients
In our Marionberry Preserves recipe, we select high-quality ingredients to capture the sweet-tart essence of these Pacific Northwest berries. Below, we list them in the order they are prepared and used, ensuring each contributes to a vibrant, homemade spread that’s perfect for toast, desserts, or gifts.
- Marionberries: 4 cups fresh, ripe marionberries (gently washed and patted dry to preserve their delicate, juicy texture and the bold flavor that blends blackberry and raspberry notes).
- Granulated sugar: 3 cups (added to enhance the natural sweetness and help achieve the perfect gel, creating a glossy preserve with a satisfying sheen).
- Lemon juice: ¼ cup freshly squeezed (incorporated for its acidity to balance flavors and aid in setting, infusing a bright, citrusy zing that elevates the berry’s tartness).
- Pectin: 1 package powdered (optional for a firmer set, especially if using less sugar; we recommend a low-sugar variety to maintain the pure taste of the fruit).
Equipment Needed
To prepare our Marionberry Preserves safely and efficiently, we rely on essential tools that ensure proper canning and preserve the vibrant flavors of fresh marionberries. Building on our ingredient selection, having the right equipment streamlines the process and helps achieve that perfect, spreadable consistency.
Here’s a detailed list of the key items we recommend:
- Large Stockpot or Dutch Oven: We use this heavy-bottomed pot (at least 8 quarts) to cook the marionberry mixture, allowing for even heating and preventing scorching as the berries break down and thicken.
- Water Bath Canner: Essential for the canning process, this large pot with a rack (or a deep stockpot with a canning rack) submerges jars in boiling water to seal them properly, extending the shelf life of our preserves.
- Canning Jars and Lids: We opt for standard 8-ounce or pint-sized mason jars made of tempered glass, along with new two-piece lids (rings and flats) to create an airtight seal and maintain freshness.
- Jar Lifter: This specialized tongs tool safely removes hot jars from the canner, reducing the risk of burns and ensuring secure handling during our preserving steps.
- Canning Funnel: A wide-mouthed funnel made of stainless steel or plastic helps us pour the hot marionberry preserves into jars without spills, keeping everything clean and mess-free.
- Ladle or Heatproof Spoon: We use a long-handled ladle (made of stainless steel) to stir and transfer the preserves, promoting even distribution of fruit and sugar for a uniform texture.
- Potato Masher or Immersion Blender: For crushing the fresh marionberries, we prefer a sturdy potato masher for a chunkier preserve or an immersion blender for a smoother consistency, depending on our desired outcome.
- Candy Thermometer: This tool monitors the temperature of the mixture (aiming for 220°F at sea level) to confirm when the preserves have reached the gel stage, guaranteeing a firm set without guesswork.
With these items on hand, we can confidently move from mixing ingredients to canning, capturing the sweet-tart essence of marionberries in every jar.
Instructions
Let’s guide you through the simple steps to transform fresh marionberries into our homemade Marionberry Preserves, ensuring a sweet-tart spread that’s bursting with Pacific Northwest flavors.
Prepare the Berries
First, we gather 4 cups of fresh marionberries and rinse them gently under cool water to remove any dirt or debris. Carefully sort through the berries, discarding any that are bruised or moldy to maintain the vibrant purple hue and fresh taste that make this preserve irresistible.
Next, place the cleaned berries in a large bowl and use a potato masher or immersion blender to crush them lightly. This releases their juicy essence, creating a thick, aromatic pulp that smells of sun-ripened sweetness with subtle tart notes, preparing it perfectly for cooking.
Cook the Mixture
In a large stockpot or Dutch oven, we combine the crushed marionberries with 3 cups of granulated sugar and ¼ cup of freshly squeezed lemon juice—add the optional package of powdered pectin here if you prefer a firmer set. Stir the mixture thoroughly over medium heat until the sugar dissolves completely, filling the kitchen with an enticing fruity aroma that hints at the preserve’s glossy finish.
Once dissolved, increase the heat to high and bring the mixture to a rolling boil, stirring constantly to prevent sticking. Continue boiling for about 10 to 15 minutes or until it reaches 220°F on a candy thermometer, achieving a thick, glistening texture that coats the spoon and promises a spreadable delight for your toast or desserts.
Jar and Process
While the mixture is still hot, we sterilize our canning jars and lids by boiling them in a water bath canner for 10 minutes. Using a canning funnel and ladle, carefully fill the hot jars with the preserve, leaving ¼ inch of headspace at the top to ensure a proper seal.
Wipe the jar rims clean, place the lids on top, and screw on the bands fingertip-tight. Lower the jars into the boiling water bath canner, process for 10 minutes, then remove and let them cool undisturbed. As they seal with a satisfying pop, you’ll have jars of homemade Marionberry Preserves ready to store and savor the fresh berry flavors year-round.
Storage and Make-Ahead
Once we’ve processed our Marionberry Preserves in the boiling water bath, proper storage ensures they retain their vibrant, sweet-tart flavor for months. We’ll cover how to handle make-ahead preparations and long-term storage to keep your homemade spread fresh and safe.
Make-Ahead Tips
Preparing Marionberry Preserves in advance lets us capture summer’s essence even during off-season months. Here’s how to plan ahead without compromising quality:
- Wash and freeze berries early: We can rinse and sort 4 cups of fresh marionberries, then freeze them in a single layer on a baking sheet before transferring to an airtight bag. This step preserves their juicy texture for up to 6 months, allowing us to start the recipe on a whim.
- Pre-measure dry ingredients: Combine 3 cups of granulated sugar with the optional powdered pectin package in a sealed container up to a week ahead. Store it in a cool, dry place to maintain potency and simplify assembly when we’re ready to cook.
- Prepare the lemon juice: Squeeze and measure ¼ cup of freshly squeezed lemon juice, then store it in the refrigerator for up to 3 days. This keeps the acidity balanced and ready to enhance the berries’ natural flavors.
By following these steps, we maximize efficiency while ensuring our preserves boast that irresistible berry burst.
Proper Storage Methods
Storing Marionberry Preserves correctly maintains their glossy, jewel-toned appearance and prevents spoilage. Always check jar seals immediately after processing—if a lid doesn’t pop when pressed, refrigerate and use within a week.
For optimal results, here’s a breakdown of storage options:
| Storage Method | Duration | Conditions | Notes |
|---|---|---|---|
| Room Temperature (Sealed Jars) | Up to 12 months | Cool, dark pantry (below 70°F/21°C) | Ideal for fully processed jars; the preserves will develop deeper flavors over time, like a burst of sun-ripened marionberries on your tongue. |
| Refrigerator (Opened or Unsealed Jars) | Up to 3 weeks | 40°F/4°C or lower | Once opened, the spread’s fresh, tangy aroma stays vivid—store in the front of the fridge for easy access on morning toast. |
| Freezer (For Extended Storage) | Up to 1 year | 0°F/-18°C or lower | Freeze in freezer-safe jars with headspace for expansion; thawing reveals the same luscious, spoonable consistency we love. |
Remember, always inspect for signs of spoilage, such as off odors or mold, before use. With these methods, we can enjoy our Marionberry Preserves year-round, turning simple ingredients into lasting pantry staples.
Conclusion
We’ve truly enjoyed guiding you through this marionberry preserves adventure. It’s a rewarding way to preserve nature’s bounty and add a touch of homemade magic to your meals. Trust us, once you taste that fresh burst of flavor, you’ll make it a yearly tradition.
Frequently Asked Questions
What are marionberries?
Marionberries are a berry native to the Pacific Northwest, blending the flavors of blackberries and raspberries. They’re known for their sweet-tart taste and are perfect for preserves, offering a unique twist on traditional berries. This fruit captures the essence of summer and can be used in various recipes to enjoy year-round.
What ingredients are needed for Marionberry Preserves?
You’ll need 4 cups of fresh marionberries, 3 cups of granulated sugar for sweetness and gelling, ¼ cup of freshly squeezed lemon juice for acidity, and an optional package of powdered pectin for a firmer set. These high-quality ingredients ensure a vibrant, flavorful spread that’s easy to make at home.
How do you make Marionberry Preserves?
Start by rinsing and crushing 4 cups of marionberries. Combine with 3 cups sugar and ¼ cup lemon juice in a stockpot, bring to a rolling boil, and cook until thickened. Jar the hot mixture and process in a boiling water bath for sealing. The process takes about 30-45 minutes and is straightforward for home cooks.
What equipment do I need for canning Marionberry Preserves?
Essential equipment includes a large stockpot or Dutch oven for cooking, a water bath canner for processing, canning jars and lids, a jar lifter, canning funnel, ladle, potato masher or immersion blender, and a candy thermometer. These tools ensure safe and efficient preserving for beginners and experts alike.
How should I store homemade Marionberry Preserves?
Store sealed jars at room temperature for up to 12 months. Once opened, refrigerate for up to 3 weeks or freeze for up to 1 year. Always inspect for spoilage before use to maintain freshness and safety, allowing you to enjoy the preserves’ flavors throughout the year.
Can I make Marionberry Preserves ahead of time?
Yes, prepare by washing and freezing berries in advance, pre-measuring sugar and pectin, and squeezing lemon juice ahead. This makes the process efficient for busy schedules, ensuring you can whip up a batch quickly and store it for later use.
Is this recipe suitable for beginners?
Absolutely, the Marionberry Preserves recipe is simple and beginner-friendly, with clear step-by-step instructions. It uses basic ingredients and equipment, and the process is forgiving, helping new canners build confidence while creating a delicious homemade spread.