
We absolutely love exploring the flavors of the sea, and clam balls are a delightful twist on classic seafood appetizers. Hailing from coastal kitchens like those in New England, these golden bites combine fresh clams with simple ingredients for a crispy, savory treat that’s perfect for gatherings or a cozy night in.
In our recipe, we’ll share the secrets to making clam balls that burst with ocean-fresh taste. It’s an easy way to impress friends while keeping things approachable for home cooks everywhere.
Ingredients
For our Clam Ball Recipe, we gather high-quality, fresh ingredients that blend coastal flavors into crispy, savory bites. These components, sourced from New England traditions, ensure an authentic and irresistible appetizer.
We organize the ingredients in the order they are used, starting with the seafood base and moving to binders and seasonings. Here’s what you’ll need:
- Fresh clams: 1 pound, shucked and finely chopped – the star of our Clam Ball Recipe, providing a briny, oceanic taste that forms the flavorful core.
- Yellow onion: 1 medium, finely diced – adds a subtle sweetness and crunch when sautéed as the first step in building the mixture.
- Garlic cloves: 3, minced – infuses aromatic depth right after the onion for enhanced savory notes.
- All-purpose flour: 1 cup – used next to create the batter base, ensuring the balls hold together while frying.
- Eggs: 2 large, beaten – binds the ingredients together for a cohesive texture once mixed in.
- Panko breadcrumbs: 1 cup – provides a light, crispy exterior when coated before frying.
- Fresh parsley: ¼ cup, chopped – adds a burst of herbaceous freshness and color as a final seasoning mix-in.
- Salt and black pepper: 1 teaspoon each, to taste – seasons the mixture for balanced flavor right before forming the balls.
This selection highlights the simplicity and freshness key to our Clam Ball Recipe, making it easy for home cooks to achieve professional results.
Instructions
Now that we have gathered our fresh ingredients, we’re excited to guide you through creating irresistible clam balls that boast a crispy exterior and tender, flavorful interior. Let’s break down the process step by step for flawless results.
Prep the Clams
First, we start by preparing the fresh clams to ensure they’re clean and ready for mixing. Begin with 1 pound of fresh clams: rinse them under cold water to remove any grit, then shuck them using a clam knife or pry them open carefully over a bowl to catch the juices. Chop the clam meat finely into small pieces about ¼-inch in size, which helps achieve the perfect texture in our clam balls. If using canned clams, drain and rinse them thoroughly before chopping to mimic that fresh, briny taste from coastal waters.
Mix the Ingredients
Next, we combine our prepped clams with the other elements to form a cohesive mixture full of savory flavors. In a large mixing bowl, add the chopped clams, 1 medium yellow onion (finely diced), 2 cloves of minced garlic, 1 cup of all-purpose flour, 2 beaten eggs, 1 cup of panko breadcrumbs, 2 tablespoons of chopped fresh parsley, 1 teaspoon of salt, and ½ teaspoon of black pepper. Using a spoon or your hands, mix everything thoroughly until the ingredients form a sticky dough-like consistency—the aroma of garlic and parsley will start to emerge, promising the mouthwatering seafood essence of our clam balls.
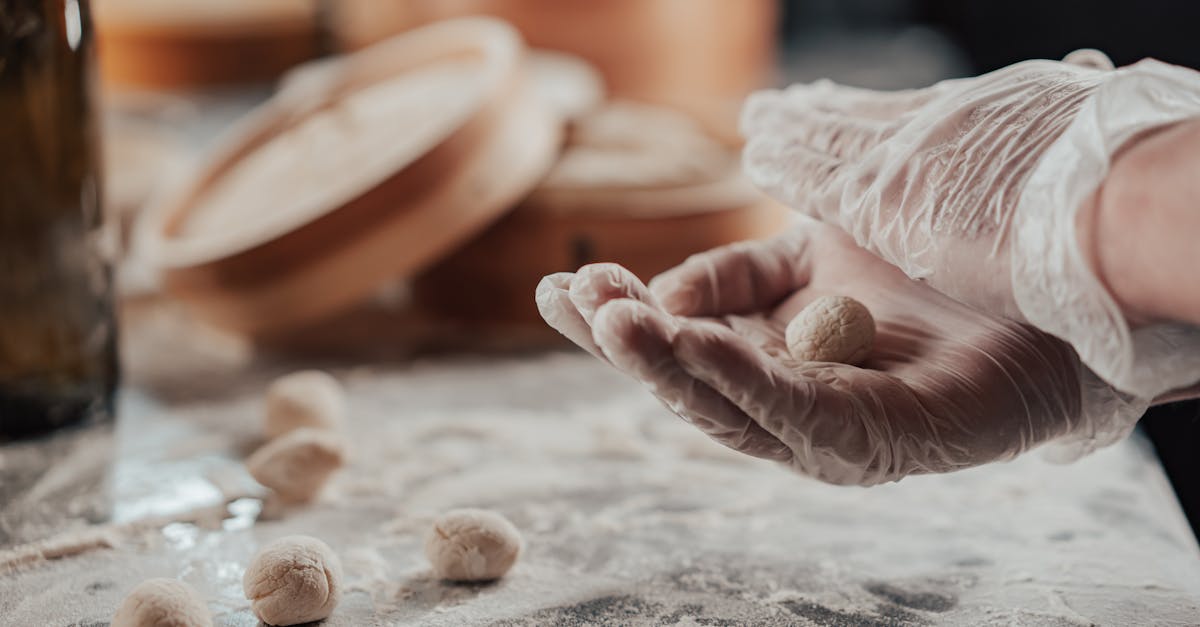
Form the Balls
With the mixture ready, we shape it into uniform balls that will fry up golden and crisp. Take about 2 tablespoons of the mixture at a time and roll it between your palms to form tight, 1-inch balls—aim for 20 to 24 balls depending on size, which ensures even cooking and bite-sized portions. Place the formed balls on a parchment-lined baking sheet as you go, giving them a gentle press to hold their shape without compacting them too much. This step is key to achieving that satisfying crunch on the outside while keeping the inside moist and flavorful.
Cook the Clam Balls
Finally, we cook our clam balls to golden perfection, drawing out their irresistible crispy texture and rich seafood taste. Heat 2 inches of oil in a deep skillet or pot to 350°F (use a thermometer for accuracy), then carefully add the balls in batches—about 6 at a time—to avoid overcrowding. Fry for 3 to 4 minutes, turning occasionally, until they’re evenly golden brown and the exterior is delightfully crisp while the inside remains tender and juicy. Remove them with a slotted spoon and drain on paper towels. For a healthier option, bake them on a greased baking sheet at 400°F for 15 to 20 minutes, flipping halfway, until they’re firm and golden—either way, the savory aroma will fill your kitchen, making these clam balls an instant hit at any gathering.
Equipment Needed
To bring our clam ball recipe to life, we rely on a few essential tools that ensure precision and efficiency in every step, from shucking fresh clams to achieving that perfect golden crisp. Let’s outline the key equipment we’ll need, organized by the stages of preparation for seamless cooking.
Preparation Tools
- Mixing bowls: We recommend two medium-sized bowls—one for combining the clam mixture and another for dredging in breadcrumbs—to keep ingredients organized and prevent cross-contamination.
- Cutting board and sharp knife: A sturdy cutting board paired with a sharp chef’s knife is crucial for finely chopping the yellow onion and garlic, allowing us to achieve even textures that blend seamlessly into the mixture.
- Shucking knife: For handling the 1 pound of fresh clams, a dedicated shucking knife ensures safe and efficient opening, helping us maintain the clams’ natural juices for maximum flavor.
Cooking and Shaping Tools
- Measuring cups and spoons: Accurate measurements are key to our recipe’s success, so we use standard measuring cups and spoons for ingredients like flour, eggs, and seasonings to guarantee consistent results every time.
- Spatula or tongs: These tools are indispensable for shaping the mixture into uniform balls and flipping them during cooking—opt for heat-resistant tongs if frying to handle the balls without breaking them.
- Frying pan or baking sheet: Depending on your preference, a deep frying pan with a thermometer for monitoring oil temperature (around 350°F for optimal crispiness) or a lined baking sheet for oven baking at 400°F offers versatility in achieving that irresistible exterior.
By gathering these tools ahead of time, we make the process straightforward and enjoyable, elevating our clam balls to a professional level right in your kitchen.
Make-Ahead Instructions
One of the best features of our clam ball recipe is its flexibility for preparing in advance, allowing us to save time and ensure fresh, flavorful results when entertaining guests or enjoying a quick meal. By planning ahead, we can let the ingredients’ coastal flavors develop fully, making these crispy bites even more irresistible.
Preparing the Mixture Ahead
We recommend mixing the clam ball ingredients up to 24 hours in advance to enhance their savory depth. Start by following our step-by-step instructions up to the point of shaping the balls. Once the mixture of fresh clams, minced onion, garlic, flour, eggs, breadcrumbs, parsley, salt, and pepper is combined, transfer it to an airtight container. Cover and refrigerate it immediately to maintain freshness and prevent bacterial growth. This step not only simplifies assembly later but also allows the herbs and seafood essences to infuse, creating a more tender and flavorful interior.
Shaping and Storing the Balls
For even greater convenience, we can shape the clam balls ahead of time. After preparing the mixture, form the balls as directed—aiming for uniform 1-inch spheres—and place them on a parchment-lined baking sheet. To avoid sticking, lightly coat each ball with a thin layer of oil or extra breadcrumbs.
If using within 24 hours, cover the baking sheet with plastic wrap and refrigerate. For longer storage, freeze the shaped balls on the sheet for about 1-2 hours until solid, then transfer them to a freezer-safe bag or container. This method keeps them from clumping and preserves their texture for up to 1 month.
Thawing and Cooking Tips
When we’re ready to cook, thaw frozen clam balls in the refrigerator overnight for safe, even defrosting. If short on time, we can cook them directly from frozen, adding 2-3 minutes to the frying or baking time as outlined in our recipe. Always ensure the internal temperature reaches 165°F for food safety, resulting in a golden, crispy exterior and juicy, clam-filled center that delights the senses.
| Make-Ahead Step | Time Frame | Storage Method | Key Benefit |
|---|---|---|---|
| Prepare mixture only | Up to 24 hours | Airtight container in refrigerator | Enhances flavor infusion |
| Shape and refrigerate balls | Up to 24 hours | Covered baking sheet in refrigerator | Streamlines cooking day |
| Shape and freeze balls | Up to 1 month | Freezer-safe bag or container | Extends shelf life for future use |
Conclusion
We’ve loved sharing this clam ball recipe with you, and we’re confident it’ll become a favorite in your kitchen. It’s a simple way to bring coastal flavors home and impress your guests without much fuss.
Experiment with your own twists, like adding herbs or spices, to make it truly yours. We can’t wait to hear how yours turn out—happy cooking!
Frequently Asked Questions
What are clam balls?
Clam balls are a delicious seafood appetizer from coastal areas like New England, made with fresh clams mixed with simple ingredients for a crispy, savory bite. They’re perfect for parties or casual meals and can be fried or baked for a tasty treat that impresses guests.
What ingredients are needed for clam balls?
You’ll need 1 pound of fresh clams, a medium yellow onion, minced garlic, all-purpose flour, beaten eggs, panko breadcrumbs, fresh parsley, salt, and black pepper. These coastal-flavored ingredients create a flavorful mixture that’s easy for home cooks to prepare.
How do I make clam balls?
Start by cleaning and shucking the clams, then mix with chopped onion, garlic, flour, eggs, breadcrumbs, parsley, salt, and pepper. Shape into balls and fry at 350°F for 3-4 minutes until golden brown, or bake at 400°F for 15-20 minutes for a healthier option.
What equipment is required for making clam balls?
Essential tools include mixing bowls, a cutting board and sharp knife for prep, a shucking knife for clams, measuring cups and spoons for accuracy, and tongs or a spatula for handling. Gather these ahead to streamline the process and get professional results at home.
Can I prepare clam balls in advance?
Yes, mix the ingredients up to 24 hours ahead and store in an airtight container in the fridge to enhance flavors. You can also shape the balls and refrigerate for up to 2 days or freeze for up to 3 months. Thaw in the fridge before cooking for the best texture.
How should I store and reheat clam balls?
Store uncooked mixtures in the fridge for up to 24 hours or freeze shaped balls for up to 3 months. Reheat cooked clam balls in a 350°F oven for 5-10 minutes until crispy. Always ensure they’re heated to an internal temperature of 165°F for safety.