
We’ve always loved the classic chocolate chip cookie, but when we swap in rich Godiva chocolate, it takes things to a whole new level of indulgence. Originating from our passion for premium ingredients, this recipe draws on Godiva’s Belgian heritage to deliver deep, velvety flavors that make every bite unforgettable.
As food enthusiasts, we’re confident this treat will become your go-to for cozy nights or special occasions. It’s simple yet sophisticated, promising that perfect balance of gooey centers and crisp edges we all crave.
Ingredients
To craft our irresistible Godiva Chocolate Chip Cookie Recipe, we start with premium, high-quality ingredients that highlight the rich, velvety flavors of Godiva chocolate. Below, we list them in the order they’re typically used, with precise measurements and any necessary prep notes for accuracy.
Dry Ingredients
- 2 ¼ cups all-purpose flour: Sifted to ensure a light, airy texture.
- 1 teaspoon baking soda: Fresh for optimal rise and a perfect crisp edge.
- ½ teaspoon salt: Fine sea salt to balance the sweetness.
Wet Ingredients
- 1 cup unsalted butter: Softened to room temperature for easy creaming.
- ¾ cup granulated sugar: Provides a subtle crunch.
- ¾ cup packed brown sugar: Adds moisture and a deep, caramelized note.
- 2 large eggs: At room temperature to help emulsify the mixture.
- 2 teaspoons pure vanilla extract: High-quality for enhanced aroma.
Add-Ins
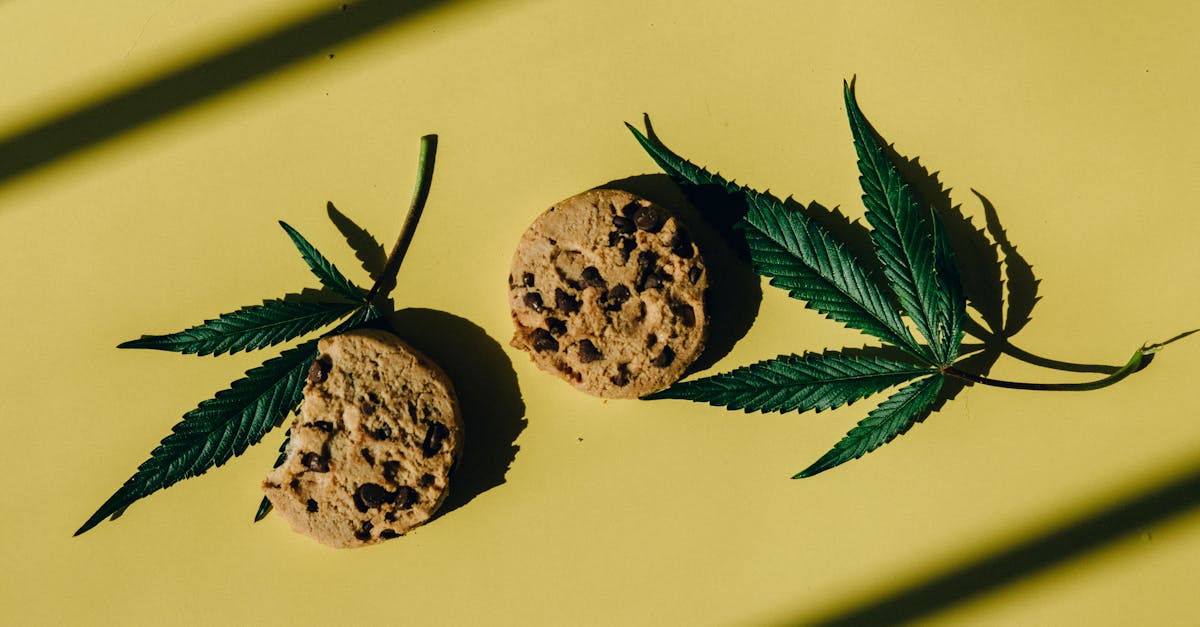
- *2 cups Godiva chocolate chips: Premium Belgian chocolate for that signature indulgent melt; we recommend dark or semi-sweet for the best flavor profile.
- 1 cup chopped nuts (optional): Such as walnuts or pecans, toasted for added crunch if desired.
This selection ensures our Godiva Chocolate Chip Cookie Recipe delivers a perfect balance of gooey centers and crisp edges, elevating your baking experience.
Required Tools and Equipment
To bring our Godiva Chocolate Chip Cookie Recipe to life with precision and ease, we rely on a few essential tools that ensure even mixing, perfect baking, and that signature gooey center with crisp edges. Having the right equipment not only streamlines the process but also helps achieve consistent results every time we bake.
Essential Tools List
We organize our tools by their role in the recipe, from preparation to baking. Here’s what you’ll need:
- Large mixing bowl: For combining dry ingredients like flour and baking soda; opt for a sturdy, glass or stainless steel bowl that holds at least 4 quarts to avoid spills.
- Medium mixing bowl: Ideal for whisking wet ingredients such as eggs and vanilla extract; a lightweight option makes it easy to handle.
- Measuring cups and spoons set: Accurate measurements are key for our recipe’s balance—use a standard set with dry and liquid cups, plus spoons in various sizes for ingredients like sugar and salt.
- Electric hand mixer or stand mixer: We prefer this for creaming butter and sugars to achieve a fluffy texture; if unavailable, a sturdy whisk works, though it requires more effort.
- Baking sheets: Non-stick or rimmed sheets (about 13×18 inches) ensure even heat distribution and prevent cookies from spreading unevenly.
- Parchment paper or silicone baking mat: These prevent sticking and make cleanup simple—cut to fit your baking sheets for our batch of indulgent Godiva chocolate chip cookies.
- Spatula or cookie scoop: A 2-tablespoon scoop helps form uniform dough balls, promoting that perfect golden-brown finish.
- Oven thermometer: To guarantee accurate baking temperatures, as ovens can vary—aim for 350°F as specified in our steps.
- Wire cooling rack: Essential for allowing cookies to cool evenly and maintain their texture without sogginess.
- Timer: A simple kitchen timer keeps track of baking times to avoid overcooking our rich, velvety treats.
By gathering these tools beforehand, we set ourselves up for a seamless baking experience that highlights the premium quality of Godiva chocolate chips.
Instructions
With our premium ingredients and tools in hand, we guide you through crafting these irresistible Godiva chocolate chip cookies that boast a perfect balance of gooey centers and crisp edges.
Prep
Before we begin, let’s prepare our workspace to ensure a smooth baking process. First, preheat the oven to 375°F (190°C) for even baking that enhances the rich, velvety flavor of Godiva chocolate chips. Line two baking sheets with parchment paper or silicone mats to prevent sticking and promote golden-brown bottoms.
Gather and measure all ingredients as listed: In a medium bowl, sift together 2¼ cups of all-purpose flour, 1 teaspoon of baking soda, and ½ teaspoon of fine sea salt—sifting ensures a light, airy texture that complements the decadent chocolate.
Mixing the Dough
We mix the dough to create that signature chewy texture infused with the luxurious taste of Godiva chocolate chips. In a large mixing bowl, use an electric mixer to cream 1 cup of softened unsalted butter with ¾ cup of granulated sugar and ¾ cup of packed brown sugar until light and fluffy—this takes about 2-3 minutes and builds a base for the cookies’ crave-worthy sweetness.
Add 2 large eggs one at a time, beating well after each to incorporate air for a tender crumb, then mix in 2 teaspoons of pure vanilla extract for a warm, aromatic depth. Gradually add the sifted dry ingredients from the prep step, mixing on low speed until just combined to avoid overworking the dough and maintain its soft consistency. Finally, gently fold in 2 cups of Godiva chocolate chips (we recommend dark for their intense, velvety melt) and any optional chopped nuts using a spatula—the chips’ premium Belgian heritage shines through, promising bursts of rich, smooth chocolate in every bite.
Baking
With the dough ready, we shape and bake the cookies to achieve those iconic crisp edges and molten centers. Using a cookie scoop or tablespoon, portion out 1½-inch balls of dough and place them 2 inches apart on the prepared baking sheets—this spacing allows for even spreading and a satisfying crunch.
Bake one sheet at a time in the preheated oven for 10-12 minutes, rotating the sheet halfway through for uniform golden perfection—watch for the edges to turn lightly brown while the centers remain soft, releasing an irresistible aroma of melted Godiva chocolate that will make your kitchen feel like a chocolate haven. This precise timing ensures 12-15 cookies per batch, yielding about 24-30 cookies total based on size.
| Batch Size | Baking Time (minutes) | Yield per Batch |
|---|---|---|
| 12 cookies | 10-12 | 12-15 cookies |
| Full recipe | N/A | 24-30 cookies |
Cooling
Once baked, we cool the cookies to lock in their texture and enhance the sensory experience. Remove the baking sheet from the oven and let the cookies rest on it for 5 minutes to set their structure, allowing the Godiva chocolate chips to firm up slightly for that ideal gooey interior.
Transfer the cookies to a wire cooling rack and cool completely for 10-15 minutes—the contrast of warm, melty chocolate and cooling crispness will tantalize your taste buds, making these treats even more irresistible for your next indulgent moment.
Make-Ahead and Storage
To keep our Godiva Chocolate Chip Cookies fresh and flavorful, we recommend planning ahead for convenience and optimal taste. This section covers how to prepare the dough in advance and store both unbaked dough and baked cookies effectively, ensuring you maintain those irresistible gooey centers and crisp edges even days later.
Make-Ahead Tips
Preparing the dough ahead of time allows the flavors from the Godiva chocolate chips to meld beautifully, enhancing the overall indulgence. Follow these steps for seamless preparation:
- Chill the Dough: After mixing the dough as outlined in the previous steps, shape it into balls or keep it in a bowl. Cover tightly with plastic wrap or transfer to an airtight container. Refrigerate for up to 24 hours to intensify the rich, velvety chocolate notes.
- Freeze for Longer Storage: For extended make-ahead options, portion the dough into cookie balls using a scoop. Place them on a baking sheet lined with parchment paper and freeze until solid (about 1-2 hours). Once frozen, transfer the balls to a freezer-safe bag or container. This method lets you bake fresh cookies whenever you crave them, preserving the perfect chewy texture.
- Baking from Chilled or Frozen Dough: If using chilled dough, let it sit at room temperature for 10-15 minutes before baking to ensure even cooking. For frozen dough, add 1-2 minutes to the baking time (extending to 11-14 minutes total at 375°F). Always monitor for that golden-brown finish.
Storage Guidelines
Proper storage is key to retaining the decadent flavors of our Godiva Chocolate Chip Cookies. Store them in a cool, dry place to prevent sogginess and maintain their signature balance of soft centers and crunchy exteriors.
| Storage Method | Duration | Tips for Best Results |
|---|---|---|
| Room Temperature | Up to 5 days | Keep cookies in an airtight container to lock in moisture and chocolate aroma. Ideal for quick access and enjoying that fresh-baked feel. |
| Refrigerator | Up to 1 week | Place cookies in an airtight container or wrap individually in plastic wrap. This slows down staleness, but let them reach room temperature before eating to restore the gooey texture. |
| Freezer | Up to 3 months | Flash-freeze baked cookies on a baking sheet first, then store in a freezer-safe bag. Thaw at room temperature for 30-60 minutes to preserve the melt-in-your-mouth quality of the Godiva chocolate chips. |
By following these methods, we ensure your cookies remain a delightful treat, ready for any moment.
Conclusion
We’ve loved sharing this Godiva chocolate chip cookie recipe and know it’ll bring joy to your kitchen. It’s a simple way to indulge in premium flavors that make every bite memorable.
As we wrap up, we’re confident these cookies will become your go-to treat for any occasion. Try them out and let us know how they turn out—we’re sure you’ll agree they’re worth it.
Frequently Asked Questions
What makes this Godiva chocolate chip cookie recipe special?
This recipe elevates classic chocolate chip cookies with premium Godiva chocolate chips, drawing from Belgian heritage for deep, velvety flavors. It balances gooey centers with crisp edges using simple, high-quality ingredients, making it perfect for cozy nights or special occasions. The straightforward process ensures it’s accessible for all bakers while delivering indulgent results.
What ingredients are needed for Godiva chocolate chip cookies?
You’ll need dry ingredients like sifted all-purpose flour, baking soda, and fine sea salt, plus wet ones such as unsalted butter, granulated and brown sugars, eggs, and pure vanilla extract. The star is 2 cups of Godiva chocolate chips (dark or semi-sweet recommended), with optional add-ins like chopped nuts for crunch. This selection creates a delightful texture and taste.
What tools are required to make these cookies?
Essential tools include a large and medium mixing bowl, measuring cups and spoons, an electric or stand mixer, baking sheets with parchment paper or mats, a spatula or cookie scoop, an oven thermometer, a wire cooling rack, and a timer. These ensure even mixing and perfect baking, helping achieve the ideal gooey center and crisp edges with Godiva chocolate.
How do I prepare the Godiva chocolate chip cookie dough?
Preheat your oven to 375°F (190°C) and line baking sheets. Cream butter and sugars in a mixer, add eggs and vanilla, then mix in dry ingredients like flour, baking soda, and salt. Fold in Godiva chocolate chips and optional nuts. Shape dough into balls and bake for 10-12 minutes until edges are crisp. Cool on a wire rack for the best texture.
Can I make the dough ahead of time for these cookies?
Yes, chill the dough in the refrigerator for up to 24 hours to enhance flavors, or freeze it for up to 3 months for later use. This make-ahead option lets you bake fresh Godiva chocolate chip cookies whenever you want, maintaining their chewy texture and rich taste with minimal effort.
How should I store baked Godiva chocolate chip cookies?
Store baked cookies in an airtight container at room temperature for up to 5 days, in the refrigerator for up to 1 week, or freeze for up to 3 months. Let refrigerated or frozen cookies come to room temperature before enjoying to preserve their gooey centers and crisp edges, keeping them fresh and flavorful.