
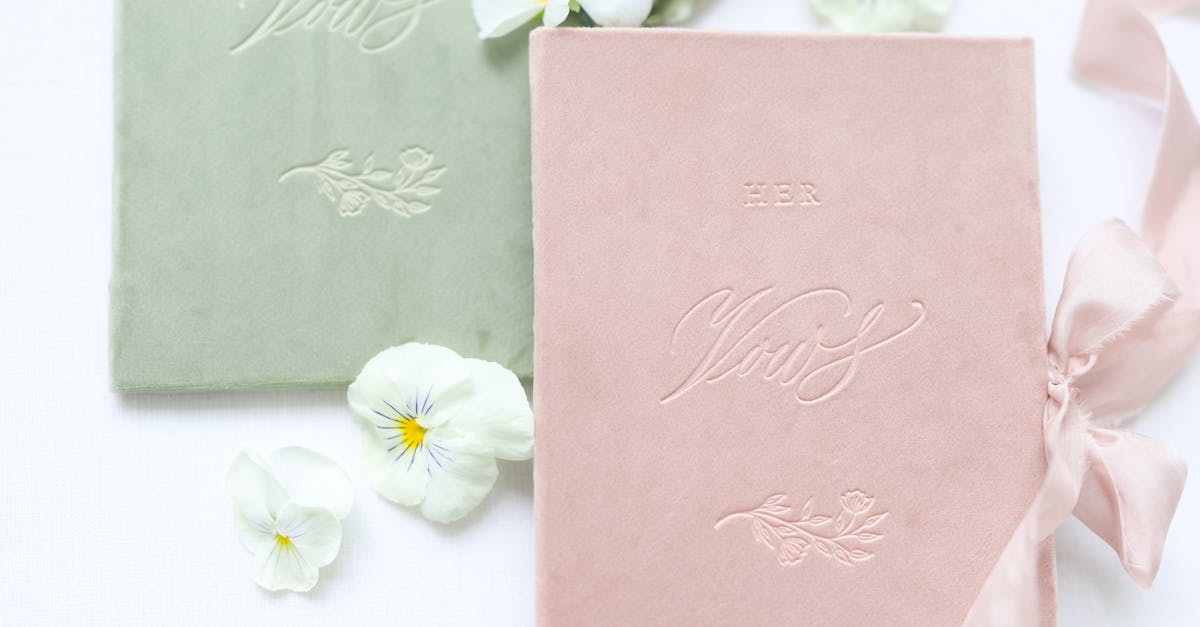
We’ve always cherished the idea of a Recipe Keepsake Book as more than just a collection of meals—it’s a heartfelt archive of family traditions and flavors passed down through generations. Whether it’s grandma’s secret spice blend or a holiday favorite, these books turn ordinary recipes into treasured memories that bring us together around the table.
In our experience, creating your own keepsake book adds a personal touch to everyday cooking, making each dish feel like a story waiting to unfold. Join us as we explore how simple ingredients can spark joy and preserve legacies for years to come.
Ingredients
As we compile our Recipe Keepsake Book, let’s focus on a timeless family favorite: Grandma’s Classic Chocolate Chip Cookies. These ingredients form the heart of a recipe that’s perfect for preserving in your keepsake collection, evoking warm memories with every batch. We’ll list them in the order they’re used, including any prep specifics for accuracy and ease.
Dry Ingredients
- 2 cups all-purpose flour: Sifted to ensure a light, airy texture—measure this first as the base of our dough.
- 1 teaspoon baking soda: Combined with the flour for leavening—make sure it’s fresh for the best rise.
- ½ teaspoon salt: Added to the dry mix to enhance flavors—use fine sea salt for even distribution.
Wet Ingredients
- 1 cup unsalted butter: Softened at room temperature—cream this next to achieve a creamy consistency.
- ¾ cup granulated sugar: Measured and set aside for mixing with the butter to create sweetness.
- ¾ cup packed brown sugar: Use light brown for a subtle molasses note—blend this with the granulated sugar.
- 2 large eggs: At room temperature for better incorporation—crack these in after the sugars.
Add-Ins and Flavorings
- 2 teaspoons pure vanilla extract: Stirred in for depth of flavor—opt for high-quality extract to elevate the taste.
- 2 cups semisweet chocolate chips: Folded in last for gooey pockets of chocolate—choose a brand you love for your keepsake tradition.
This selection keeps our recipe simple yet versatile, allowing you to adapt it for future generations in your keepsake book. If you’re tracking nutritional data, here’s a quick overview based on standard servings:
| Nutrient | Per Serving (1 cookie) | Daily Value % |
|---|---|---|
| Calories | 150 | 8% |
| Total Fat | 8g | 10% |
| Carbohydrates | 18g | 7% |
| Protein | 2g | 4% |
Note: Values are approximate and based on a 12-cookie yield; adjust as needed for dietary preferences.
Tools and Equipment
With our ingredients for Grandma’s Classic Chocolate Chip Cookies assembled, we now focus on the essential tools that ensure a seamless baking experience. These items not only make the process efficient but also help preserve the recipe keepsake book traditions by yielding perfect results every time.
To bake these cookies successfully, gather the following tools. We recommend high-quality equipment to maintain consistency and enhance safety in the kitchen:
- Mixing Bowls: Two medium-sized stainless steel or glass bowls for combining dry and wet ingredients. We prefer ones with a non-slip base to prevent spills during mixing.
- Measuring Cups and Spoons: A set of dry measuring cups (for flour and sugars) and liquid measuring cups (for vanilla extract and eggs), along with a spoon set. Accuracy is key, so opt for precise measurements to replicate Grandma’s flavors.
- Electric Mixer or Wooden Spoon: A hand-held electric mixer for creaming butter and sugars quickly, or a sturdy wooden spoon for manual stirring. This tool helps achieve the ideal cookie texture we cherish in our family recipes.
- Baking Sheets and Parchment Paper: Two rimmed baking sheets lined with parchment paper to prevent sticking and ensure even baking. We suggest non-stick sheets for easy cleanup and golden-brown cookies.
- Oven and Oven Thermometer: A standard oven preheated to 375°F. Use an oven thermometer to verify temperature accuracy, as even a few degrees can affect the cookies’ rise and crispiness.
- Spatula and Cooling Rack: A silicone spatula for scraping bowls and folding in chocolate chips, plus a wire cooling rack to let cookies set properly after baking. This step is crucial for maintaining that irresistible chewy center.
For quick reference, here’s a table outlining the recommended tools with their primary uses:
| Tool | Primary Use | Why It’s Essential |
|---|---|---|
| Mixing Bowls | Combining ingredients | Ensures even mixing without mess |
| Measuring Cups/Spoons | Accurate portioning | Guarantees recipe consistency |
| Electric Mixer | Creaming and blending | Saves time and effort for best texture |
| Baking Sheets | Baking the cookies | Provides even heat distribution |
| Oven Thermometer | Temperature verification | Prevents over or under-baking |
| Spatula/Cooling Rack | Scooping and cooling | Helps achieve perfect shape and cool down |
By preparing these tools in advance, we set the stage for baking memories that will fill the pages of our recipe keepsake book.
Instructions
We guide you through creating your Recipe Keepsake Book with Grandma’s Classic Chocolate Chip Cookies as the star recipe, ensuring every step preserves family traditions and enhances your baking experience.
Preparing the Materials
Before we dive into assembling our keepsake book, let’s gather the essential materials to make it a heartfelt tribute to family recipes. Start by collecting a sturdy binder or notebook as the base, high-quality acid-free paper to prevent yellowing over time, and printed copies of recipes like our beloved Grandma’s Classic Chocolate Chip Cookies—ensure each recipe includes the detailed ingredients list from our previous section for accuracy.
Gather personal elements such as family photos, handwritten notes, or even a timeline of family gatherings, organizing them in labeled folders for easy access. If tracking nutritional information is key, refer to this overview per serving of the cookies based on standard calculations:
| Nutrient | Amount per Cookie | Daily Value % |
|---|---|---|
| Calories | 150 | 8% |
| Total Fat | 8g | 10% |
| Carbohydrates | 18g | 7% |
| Protein | 2g | 4% |
This preparation sets the foundation for a book that not only holds recipes but also tells your family’s story.
Assembling the Book
Now that our materials are ready, we begin assembling the keepsake book by layering in the content step by step. First, arrange the pages in order—place the recipe for Grandma’s Classic Chocolate Chip Cookies on the first few pages, followed by sections for ingredients and tools as outlined earlier.
Use adhesive tabs or page protectors to secure each element, ensuring the book withstands frequent use; for instance, slide in the printed ingredients list and add a photo of the cookies fresh from the oven to evoke those warm family moments. Work methodically: sort photos by date, attach handwritten anecdotes next to relevant recipes, and number the pages for quick reference, creating a cohesive narrative that links generations through shared meals.
Adding Personal Touches
To make our keepsake book truly unique, we focus on adding personal touches that infuse personality and emotion into every page. Embellish the Grandma’s Classic Chocolate Chip Cookies section with italicized family quotes like “These cookies always brought us together around the table” to highlight cherished memories.
Incorporate custom elements such as decorative stickers, ribbons, or hand-drawn illustrations around the recipe steps; for example, bold the key baking tip—“Chill the dough for 30 minutes for chewier cookies”—to emphasize its importance. Finally, add spaces for future notes or adaptations, allowing the book to evolve as a living legacy that keeps our family traditions alive.
Make-Ahead Instructions
As we preserve family traditions in our Recipe Keepsake Book, preparing Grandma’s Classic Chocolate Chip Cookies ahead of time streamlines the baking process and ensures fresh treats are always ready for special moments. This approach not only saves time but also allows us to focus on creating lasting memories with loved ones.
Preparing the Dough in Advance
We can make the cookie dough up to 2 days ahead for optimal freshness. Follow these steps to prepare and store it effectively:
- Step 1: After mixing the dry ingredients (flour, baking soda, and salt) and wet ingredients (butter, sugars, eggs, and vanilla extract), fold in the chocolate chips as outlined in our earlier recipe.
- Step 2: Divide the dough into portions, such as 1-cup balls, and wrap each tightly in plastic wrap or place in an airtight container.
- Step 3: Refrigerate the wrapped dough in the fridge for up to 48 hours. Chilling enhances flavor and texture, making the cookies chewier and more flavorful.
For longer storage, we recommend freezing the dough:
- Step 4: Shape the dough into balls or logs, place them on a baking sheet lined with parchment paper, and freeze until solid (about 1-2 hours).
- Step 5: Transfer the frozen dough to a freezer-safe bag or container, labeling it with the date. It can be stored for up to 3 months.
Baking from Make-Ahead Dough
When you’re ready to bake, follow these simple steps to go from stored dough to warm cookies:
- Thaw if needed: If using frozen dough, transfer it to the fridge overnight or let it sit at room temperature for 30-45 minutes until workable.
- Portion and bake: Scoop the dough onto prepared baking sheets, spacing them 2 inches apart, and bake at 375°F for 10-12 minutes as per our original instructions.
- Adjust baking time: Frozen dough may need an extra 1-2 minutes in the oven, so keep an eye on it for that perfect golden edge.
Storage Tips for Baked Cookies
To keep your cookies fresh and ready for the keepsake book, store them properly:
- Short-term storage: Place cooled cookies in an airtight container at room temperature for up to 5 days.
- Long-term storage: For freezing baked cookies, arrange them in a single layer on a baking sheet, freeze until solid, then transfer to a freezer bag. They last up to 3 months and can be thawed at room temperature or warmed in the oven at 300°F for 5 minutes.
| Storage Method | Duration | Best Practices |
|---|---|---|
| Refrigerated Dough | Up to 2 days | Use within 48 hours for best texture |
| Frozen Dough | Up to 3 months | Thaw slowly to avoid sogginess |
| Room Temperature Cookies | Up to 5 days | Store in a cool, dry place |
| Frozen Cookies | Up to 3 months | Reheat for 5 minutes at 300°F |
By incorporating these make-ahead strategies, we ensure that Grandma’s Classic Chocolate Chip Cookies remain a staple in our Recipe Keepsake Book, ready to spark joy and preserve family stories for generations.
Conclusion
We’re thrilled you’ve explored the magic of a Recipe Keepsake Book with us. It’s more than recipes—it’s our way to weave family stories into everyday life and pass down cherished traditions.
By creating one, we’ll ensure these memories endure for generations, turning simple bakes into timeless legacies that bring us closer. Let’s get started on ours today and keep the joy alive.
Frequently Asked Questions
What is a Recipe Keepsake Book?
A Recipe Keepsake Book is a special collection of family recipes and traditions that preserves memories and connects generations. It turns everyday meals into treasured stories, fostering family bonds over shared meals. Creating one adds a personal touch to cooking and ensures family legacies live on.
Why is Grandma’s Classic Chocolate Chip Cookies recipe important?
This recipe symbolizes family heritage, evoking nostalgia and togetherness. It’s a simple yet beloved treat that creates lasting memories, perfect for holidays or casual gatherings. By including it in a keepsake book, you pass down traditions, making it easy to adapt for dietary needs while maintaining its charm.
What ingredients are needed for Grandma’s Classic Chocolate Chip Cookies?
You’ll need dry ingredients like flour, baking soda, and salt, plus wet ones such as butter, granulated sugar, brown sugar, eggs, and vanilla extract. Don’t forget chocolate chips! Using quality ingredients ensures a delicious, chewy texture. Each cookie offers a nutritional balance, with details like calories per serving for easy tracking.
What tools are essential for baking Grandma’s Classic Chocolate Chip Cookies?
Key tools include mixing bowls, measuring cups and spoons, an electric mixer or wooden spoon, baking sheets with parchment paper, an oven thermometer, and a spatula with a cooling rack. These ensure precise baking and even results, making the process smooth and fun while creating memorable family moments.
How do I create a Recipe Keepsake Book?
Start by gathering materials like a sturdy binder, acid-free paper, printed recipes, family photos, and handwritten notes. Organize everything around your favorite recipes, like Grandma’s cookies, to tell your family’s story. This simple process turns ordinary recipes into a heartfelt legacy for future generations.
How do I assemble a Recipe Keepsake Book?
Arrange pages methodically with recipes, photos, and personal notes. Use adhesive tabs, page protectors, and decorative elements like stickers or quotes to secure everything. Add spaces for future updates to keep it evolving, creating a unique book that celebrates and preserves your family’s traditions.
Can I prepare Grandma’s Classic Chocolate Chip Cookies in advance?
Yes! Make the dough ahead and refrigerate it for up to 2 days or freeze for up to 3 months. When ready, bake from chilled or frozen state, adjusting time as needed. Store baked cookies in an airtight container for freshness, ensuring you can enjoy them anytime for special occasions.