
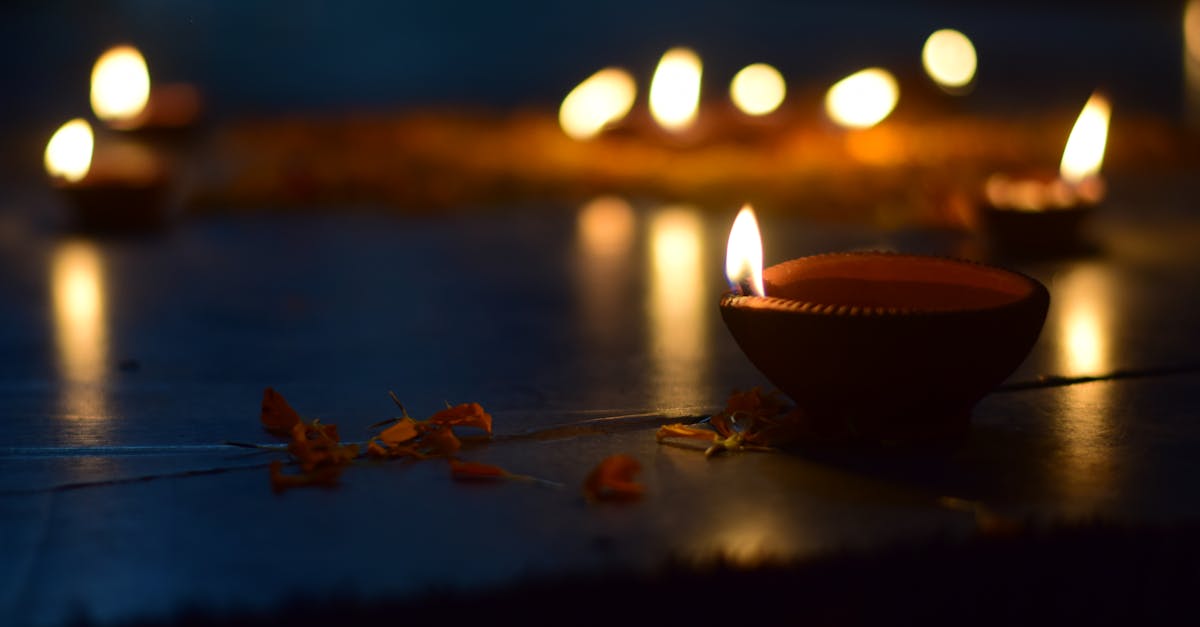
We’ve always been captivated by the magic of low fire ceramic glaze recipes, a craft that transforms ordinary clay into stunning, colorful masterpieces. Originating from ancient pottery traditions, these techniques let us achieve vibrant finishes without the need for intense heat, making them perfect for beginners and pros alike.
Ingredients
In our exploration of low fire ceramic glaze recipes, we focus on the essential materials that bring vibrant, durable finishes to your pottery projects. These ingredients, carefully selected and prepared, allow us to achieve eye-catching results at temperatures below 2,000°F, making the process approachable for all skill levels.
We organize the ingredients below in the order they are typically used during preparation and application. For optimal results, measure precisely and handle with care to ensure even mixing and safe glazing.
Base Ingredients
- Frit (2 cups): Our foundational flux that lowers the melting point for low fire glazes. Grind it finely before use to promote smooth application.
- Kaolin clay (1 cup): A key stabilizer that adds body to the glaze mixture. Sift it to remove lumps for a consistent texture.
- Feldspar (½ cup): Acts as a natural flux to enhance adhesion. We recommend using a fine-mesh sieve to prepare this for blending.
Colorants and Additives
- Cobalt oxide (1 tablespoon): Delivers a striking blue hue to low fire ceramic glazes. Mix thoroughly to avoid uneven coloring.
- Iron oxide (2 teaspoons): Provides earthy tones like reds and browns. For vivid results, dissolve it in a small amount of water before adding.
- Copper carbonate (1 teaspoon): Introduces green or turquoise shades. Handle with gloves as it’s a potent colorant in our glaze formulas.
Optional Enhancers
To customize your low fire glazes, consider these additives based on your project’s needs:
- Bentonite (1 teaspoon): A suspending agent that prevents settling. Stir it in last for better suspension.
- Gum arabic (½ teaspoon): Improves brushability and prevents cracking. Dissolve in water first for easy incorporation.
| Ingredient Category | Recommended Firing Temp (°F) | Approximate Yield (for 1 batch) |
|---|---|---|
| Base Ingredients | 1,800–1,950 | 3–4 cups glaze |
| Colorants and Additives | 1,800–1,950 | Varies (1–3 tablespoons total) |
| Optional Enhancers | 1,800–1,950 | Up to 1 teaspoon per enhancer |
Required Tools and Equipment
As we transition from selecting and preparing our essential ingredients for low fire ceramic glaze recipes, we must equip ourselves with the right tools and equipment to ensure safe, efficient, and professional results. These items help us mix, apply, and fire glazes effectively at temperatures below 2,000°F, building on the vibrant finishes discussed earlier.
Essential Tools List
To achieve optimal outcomes in our low fire ceramic projects, we recommend the following core tools. We’ve organized them by category for clarity:
- Mixing and Preparation Tools:
- A stainless steel bowl (at least 1-gallon capacity) for combining ingredients without contamination.
- A digital scale accurate to 0.1 grams for precise measurements of frit, kaolin clay, and colorants like cobalt oxide.
- A fine-mesh sieve (100-200 mesh) to remove lumps and ensure smooth glaze consistency.
- Application Tools:
- Soft-bristle brushes (size 4-8) for even glaze application on pottery surfaces.
- A sponge or airbrush for detailed or large-scale coverage, allowing us to achieve uniform, vibrant hues from our colorants.
- Firing and Safety Equipment:
- An electric kiln capable of reaching 1,800°F to 2,000°F, essential for low fire processes to activate our glazes without high-temperature risks.
- Heat-resistant gloves and a respirator mask to protect us during handling and firing, prioritizing safety when working with materials like iron oxide or copper carbonate.
Key Considerations for Tool Selection
When choosing tools for our low fire ceramic glaze recipes, we focus on durability and precision. For instance, investing in a kiln with programmable controls can reduce errors in firing cycles. Below is a quick comparison of common kiln types based on key factors:
| Kiln Type | Temperature Range (°F) | Energy Efficiency (kWh per firing) | Best For |
|---|---|---|---|
| Electric Kiln | 1,800–2,000 | 10–15 | Beginners and home use |
| Gas Kiln | 1,800–2,300 | 15–20 | Larger-scale projects |
| Microwave Kiln | Up to 1,650 | 1–2 | Small, quick tests |
By using these tools, we can seamlessly blend our ingredients into stunning, durable glazes, enhancing the overall pottery experience.
Instructions
Now that we have gathered our essential ingredients and tools, we guide you through the precise steps to craft vibrant low fire ceramic glazes. Follow these instructions closely to achieve durable and colorful finishes.
Preparing the Glaze
Before mixing, we prepare our ingredients to ensure even consistency and optimal adhesion. Start by measuring out the base materials frit, kaolin clay, and feldspar using a digital scale for accuracy—aim for ratios like 50% frit, 30% kaolin clay, and 20% feldspar by weight as a standard low fire base.
Here’s a quick reference table for common ingredient quantities based on a small batch size:
| Ingredient | Quantity (grams) | Purpose |
|---|---|---|
| Frit | 500 | Provides the glassy base |
| Kaolin Clay | 300 | Adds stability and texture |
| Feldspar | 200 | Enhances melting properties |
Next, measure colorants such as cobalt oxide for deep blue or iron oxide for earthy tones—use 5-10% of the total base weight for vivid results. If adding enhancers like bentonite or gum arabic, incorporate them at 1-2% to improve suspension. We sift all dry ingredients through a fine mesh to remove lumps then store them in a clean, dry container to prevent contamination.
Mixing the Ingredients
We mix the ingredients methodically to create a smooth, lump-free slurry that adheres well to ceramics. Begin by pouring the prepared base materials into a stainless steel bowl, then add colorants and enhancers gradually while stirring with a spoon or mixer.
Follow these steps for even blending:
- Add water slowly—typically 20-30% of the dry mixture’s weight—to form a thick paste.
- Stir vigorously for 2-3 minutes until the mixture reaches a creamy consistency, ensuring no dry pockets remain.
- Test the texture: It should feel silky and coat your stirring tool without dripping excessively, indicating proper hydration.
For safety, always wear a respirator mask and heat-resistant gloves during this process as emphasized in our tools section.
Applying the Glaze
We apply the glaze evenly to achieve striking, professional finishes that highlight the pottery’s form and color. First, select your bisque-fired ceramic pieces and use soft-bristle brushes or a sprayer for precise coverage.
Proceed with these detailed steps:
- Dip the brush into the glaze mixture and apply one even coat to the surface, working from the top down to avoid drips.
- For layered effects, add a second coat after the first dries for 10-15 minutes, building depth in hues like the vivid blues from cobalt oxide.
- Describe the senses: Feel the glaze’s smooth, velvety texture as it glides on, and visualize the anticipated glossy sheen that will emerge post-firing.
Ensure thin, uniform application—about 0.5-1 mm thick—to prevent cracking and maximize the glaze’s vibrant, durable outcome.
Firing the Ceramic
We fire the glazed ceramics at low temperatures to lock in colors and create a hard, glossy surface without high heat requirements. Load your pieces into the electric kiln, ensuring they are spaced at least 2 inches apart for even heat distribution.
Follow this firing schedule for optimal results:
- Ramp up the temperature gradually to 1,800°F over 2-3 hours to avoid thermal shock.
- Hold at peak temperature for 1-2 hours, monitoring with a kiln’s digital controller for precision.
- Cool slowly over 4-6 hours before unloading.
If comparing kiln types, refer to our earlier discussion: electric kilns offer better energy efficiency than gas models for low fire projects. Key tip: Watch for the transformation in senses—the pieces will emit a faint, earthy aroma and develop a glossy, tactile finish that signifies success.
Make-Ahead Tips
To streamline our low fire ceramic glaze projects and ensure consistent results, we often prepare elements in advance, allowing us to focus on the creative process without last-minute rushes. By planning ahead, we maintain safety, efficiency, and vibrant outcomes in our pottery endeavors. Let’s explore practical strategies for prepping ingredients, mixtures, and tools.
Preparing Ingredients in Advance
We recommend gathering and pre-measuring low fire ceramic glaze ingredients ahead of time to avoid errors during mixing. Start by organizing your base materials like frit, kaolin clay, and feldspar into airtight containers labeled with quantities and dates. For colorants such as cobalt oxide or iron oxide, store them separately in small, sealed bags to prevent cross-contamination.
- Measure and Portion Bases: Use a digital scale to portion out 100g of frit or 50g of kaolin clay per batch, as these form the foundation of durable finishes.
- Handle Colorants Carefully: Pre-weigh 5g of copper carbonate or 2g of iron oxide into individual packets, ensuring they remain dry and uncontaminated.
- Incorporate Enhancers: If using optional additives like bentonite or gum arabic, mix small amounts (e.g., 1g per 100g of base) into separate containers to enhance texture without haste.
Mixing and Storing Glaze Mixtures
In our experience, mixing glazes ahead of time saves valuable time, but proper storage is key to preserving quality. Prepare a smooth slurry by combining measured ingredients with distilled water, then store it to extend its usability.
To guide you, here’s a quick reference table for storage durations based on common ingredients, helping you plan your projects effectively:
| Ingredient Type | Recommended Storage Method | Shelf Life at Room Temperature | Notes |
|---|---|---|---|
| Base Materials (e.g., frit, kaolin) | Airtight containers in a cool, dry place | Up to 6 months | Keep away from moisture to prevent clumping. |
| Colorants (e.g., cobalt oxide) | Sealed opaque bags or jars | Up to 12 months | Store in a dark environment to maintain vibrancy. |
| Full Glaze Mixtures | Refrigerated in glass jars with lids | Up to 1 week | Stir before use and check for separation. |
Always wear safety gear like a respirator mask and heat-resistant gloves when handling these materials, as emphasized in our earlier sections.
Application and Tool Readiness Tips
We find that prepping tools and application methods in advance leads to even coverage and stunning glaze effects. Set up your soft-bristle brushes and stainless steel bowls the day before, ensuring they are clean and organized.
- Brush and Tool Preparation: Soak brushes in clean water for 10 minutes to keep them supple, then air-dry them on a rack.
- Batch Application Planning: If layering glazes, outline your design on paper beforehand, noting sequences like applying a base coat of feldspar mixture followed by a colorant layer.
- Firing Schedule Prep: Write out a firing ramp-up plan (e.g., heat to 1,800°F over 2 hours) and attach it to your kiln for quick reference, building on the energy-efficient practices we discussed.
By implementing these make-ahead tips, we enhance the accessibility and enjoyment of creating vibrant low fire ceramic glazes, making each project more efficient and rewarding.
Conclusion
We’ve explored the magic of low fire ceramic glazes and how they bring vibrant life to your pottery. It’s rewarding to see simple ingredients turn into stunning, durable pieces with ease.
As we wrap up, remember that experimenting with these recipes sparks creativity and builds skills we’ll cherish. Let’s dive in and create art that’s truly our own.
Frequently Asked Questions
What is low fire ceramic glaze?
Low fire ceramic glaze is a technique that creates vibrant, colorful finishes on pottery at temperatures below 2,000°F. It’s rooted in ancient traditions, making it accessible for beginners and pros alike. Unlike high fire methods, it uses simple ingredients to transform clay into durable, glossy pieces without needing extreme heat.
What are the essential ingredients for low fire glazes?
Key ingredients include base materials like frit, kaolin clay, and feldspar for durability, plus colorants such as cobalt oxide, iron oxide, and copper carbonate for hues. Add enhancers like bentonite or gum arabic for customization. Carefully measure and mix these to ensure even, vibrant results in your pottery projects.
What tools are needed for working with low fire ceramic glazes?
Essential tools include a stainless steel bowl, digital scale, soft-bristle brushes, and an electric kiln for firing. Don’t forget safety gear like heat-resistant gloves and a respirator mask. Choose kilns based on energy efficiency and temperature range to achieve precise, stunning glazes safely.
How do I prepare and apply low fire ceramic glazes?
Start by measuring ingredients like base materials and colorants, then mix into a smooth slurry while wearing safety gear. Apply with brushes for even coverage or layers. Fire in an electric kiln, ramping up temperature gradually and cooling slowly for a glossy finish. This ensures vibrant, durable results.
What are the benefits of low fire ceramic glazes for beginners?
Low fire glazes are ideal for beginners due to their lower temperatures, making them easier and safer to use without advanced equipment. They allow for vibrant colors and quick experimentation, helping new artisans build skills while creating beautiful pottery without high costs or complexity.
How does low fire glazing compare to high fire methods?
Low fire glazing uses temperatures under 2,000°F for accessible, colorful results, while high fire needs over 2,000°F for more durable pieces. Low fire is quicker, energy-efficient, and great for beginners, but may not be as tough as high fire. Choose based on your project’s needs and resources.
What tips can help with make-ahead low fire glaze projects?
Pre-measure ingredients like frit and colorants, store them in airtight containers to avoid contamination, and mix glazes ahead for efficiency. Use a reference table for storage durations and always wear safety gear. Soak brushes and plan firing schedules to streamline your process and achieve consistent, vibrant outcomes.