
We absolutely adore the charm of a cutting board with an engraved recipe, turning a simple kitchen essential into a personalized masterpiece that sparks joy with every meal prep. It’s a clever way to preserve family traditions or favorite dishes right on your countertop, making cooking feel more intimate and fun.
In our experience, these engraved boards inspire us to dive into timeless recipes that blend nostalgia with everyday ease. Whether you’re gifting one or using it yourself, it’s the perfect blend of utility and sentiment that elevates our culinary routines.
Ingredients
As we delve into the recipe engraved on our cutting board, these carefully selected ingredients capture the essence of timeless family traditions, turning simple prep into a sensory delight of fresh aromas and flavors.
To prepare this classic chocolate chip cookie recipe—perfect for engraving—we’ll start with the dry ingredients for a solid base, followed by wet components and mix-ins to ensure even blending and that signature homemade taste.
- Flour: 2 cups all-purpose flour, sifted to remove lumps and promote a light, airy texture.
- Sugar: 1 cup granulated sugar and ½ cup brown sugar, packed, for a perfect balance of sweetness and moisture that caramelizes beautifully during baking.
- Baking soda and salt: 1 teaspoon baking soda and ½ teaspoon salt, both finely measured to enhance the cookies’ rise and flavor depth without overpowering the other elements.
- Butter: 1 cup unsalted butter, softened to room temperature, ensuring easy creaming and a rich, buttery mouthfeel.
- Eggs: 2 large eggs, at room temperature, to bind the dough and add richness for a tender crumb.
- Vanilla extract: 2 teaspoons pure vanilla extract, for its warm, aromatic notes that elevate the overall taste.
- Chocolate chips: 2 cups semi-sweet chocolate chips, for gooey pockets of indulgence that make each bite irresistible.
For optimal results, we recommend using high-quality, fresh ingredients to honor the sentimental value of your engraved cutting board and achieve the best sensory experience in every batch.
Tools and Equipment
We believe that selecting the right tools elevates our baking experience and ensures precision in every step. Our engraved cutting board serves as the centerpiece, blending functionality with sentimental charm to guide us through the chocolate chip cookie recipe.
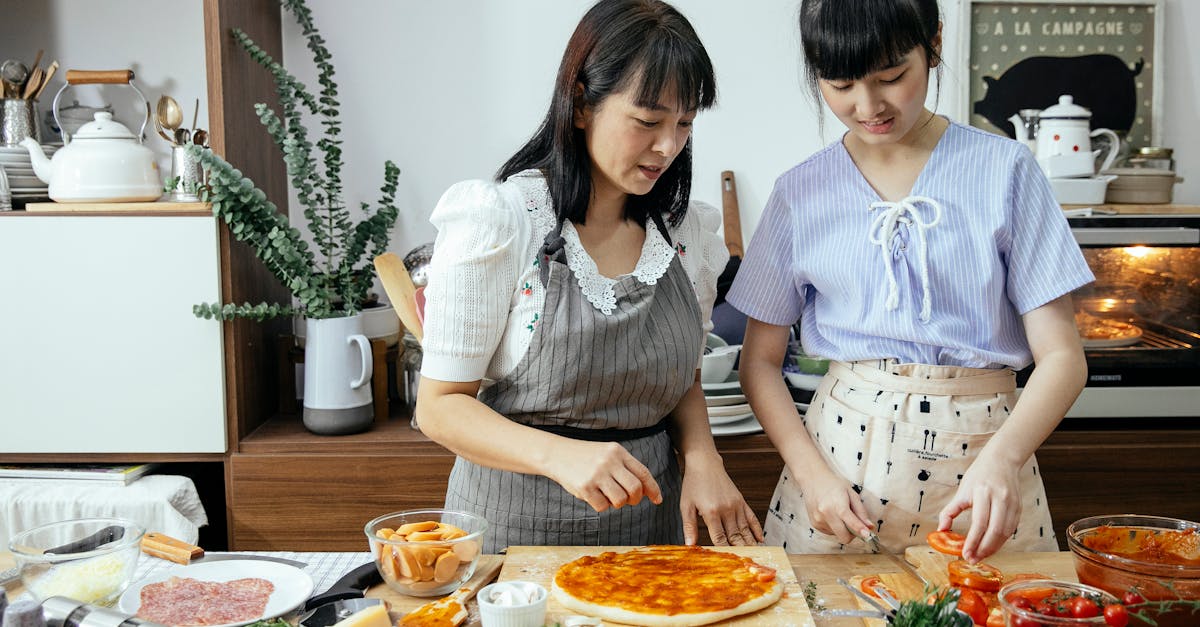
The Cutting Board with Engraved Recipe
At the heart of our setup, the engraved cutting board stands out as a multifunctional tool that not only provides a sturdy surface for prep but also infuses our baking sessions with personal history. We use this board primarily for measuring and mixing ingredients, as its engraved details offer a quick reference to the chocolate chip cookie recipe, making it easier to follow steps without flipping through notes.
To highlight its key features, we’ve compiled the following table comparing traditional cutting boards to our engraved version:
| Feature | Traditional Cutting Board | Engraved Cutting Board with Recipe |
|---|---|---|
| Personalization | Basic, no customization | High, features engraved family recipe |
| Utility | General prep surface | Multi-purpose: prep, measurement guide |
| Emotional Value | Neutral | High, evokes nostalgia and traditions |
| Durability | Depends on material (e.g., wood, plastic) | Enhanced with quality engraving for longevity |
When preparing our chocolate chip cookies, we position the engraved cutting board on a stable counter to measure out dry ingredients like flour and sugars, ensuring accuracy while the etched recipe reminds us of cherished family moments. Its smooth surface allows for easy mixing and cleanup, and we recommend opting for a wooden or bamboo version to enhance the sensory appeal of the wood’s natural grain under our hands. Always handle it with care to preserve the engraving, as it becomes an heirloom that makes our baking process more engaging and heartfelt.
Directions
We love how our engraved cutting board brings this chocolate chip cookie recipe to life, serving as a handy guide while we prepare and assemble these timeless treats. Let’s follow the engraved steps for a seamless, nostalgic baking session that evokes warm family memories.
Preparation Steps
First, we gather all ingredients on our engraved cutting board to keep everything organized. Preheat the oven to 375°F and line baking sheets with parchment paper for even heat distribution.
- In a large mixing bowl, cream 1 cup of softened butter with ¾ cup of granulated sugar and ¾ cup of packed brown sugar until the mixture is light and fluffy—about 2-3 minutes—using an electric mixer to capture that smooth, airy texture that promises a melt-in-your-mouth cookie.
- Add 2 large eggs one at a time, beating well after each addition, then stir in 1 teaspoon of pure vanilla extract; the rich, vanilla aroma will fill the kitchen, enhancing the sensory joy of baking on our personalized board.
- In a separate bowl, whisk together 2 ¼ cups of all-purpose flour, 1 teaspoon of baking soda, and ½ teaspoon of salt until fully combined; this step ensures the dry ingredients blend evenly for the perfect chewy consistency.
Assembly
We combine our prepared mixtures on the engraved cutting board for easy reference and assembly.
- Gently fold the dry ingredients into the wet mixture until just combined, avoiding overmixing to keep the dough tender; add 2 cups of chocolate chips and stir until they’re evenly distributed, letting the chips’ glossy shine hint at the gooey centers to come.
- Using a spoon or cookie scoop, drop tablespoon-sized portions of dough onto the prepared baking sheets, spacing them about 2 inches apart to allow for even spreading and golden browning.
- Bake the cookies for 8-10 minutes until the edges are lightly golden but the centers remain soft; as they cool on the board, the irresistible scent of fresh-baked chocolate chip cookies will make this a cherished ritual.
Conclusion
We’ve seen how an engraved cutting board elevates our kitchen adventures
by blending utility with heartfelt memories. It’s more than a simple tool—
it’s a cherished companion that sparks joy in every recipe we prepare.
As we wrap up, we’re certain this personalized touch will inspire your
own culinary traditions, making each meal a meaningful story to share.
Frequently Asked Questions
What is an engraved cutting board?
An engraved cutting board is a personalized kitchen tool, typically made of wood or bamboo, with custom engravings like recipes or family names. It transforms a standard board into a sentimental piece that enhances meal prep by serving as both a functional surface and a decorative heirloom.
How does an engraved cutting board add sentimental value to cooking?
Engraved cutting boards preserve family recipes and traditions, making everyday cooking more intimate and enjoyable. They evoke nostalgic memories, turning routine tasks into emotional experiences that honor heritage and strengthen family bonds.
What ingredients are needed for the chocolate chip cookie recipe?
The recipe requires flour, sugars (granulated and brown), baking soda, salt, butter, eggs, vanilla extract, and chocolate chips. Using high-quality, fresh ingredients ensures rich flavor and texture, enhancing the overall baking experience.
What tools are recommended for baking with an engraved cutting board?
You’ll need an engraved cutting board for prep and recipe reference, along with mixing bowls, a whisk, baking sheets, and an oven. The board acts as a sturdy, multifunctional centerpiece that elevates precision and adds emotional appeal to your baking routine.
How do I prepare chocolate chip cookies using an engraved cutting board?
Start by gathering ingredients on the board, cream butter and sugars, mix in eggs and vanilla, then combine with dry ingredients like flour and chocolate chips. Use the board for measuring and mixing, ensuring gentle stirring for perfect consistency before baking on spaced sheets.
What are the benefits of an engraved cutting board over a traditional one?
An engraved cutting board offers personalization, emotional value, and durability, serving as a quick recipe reference while providing a sturdy surface. Unlike traditional boards, it enhances the sensory experience of cooking and becomes a cherished family heirloom.
How should I care for an engraved cutting board?
Hand-wash with mild soap and water, avoid soaking or high heat, and oil regularly with food-grade mineral oil to maintain its surface and engraving. Proper care ensures longevity, preserving its utility and sentimental value for years.