
We’ve all craved that warm crusty bread without the gluten worries and our gluten-free beer bread recipes deliver just that. Originating from simple American quick breads we’ve adapted with ease these versions use gluten-free flours and your favorite beer for a fluffy rise and rich flavor making them ideal for beginners or busy days.
What sets our recipes apart is their no-knead simplicity and versatility whether you’re pairing them with soups or enjoying fresh from the oven. Let’s explore how we make baking accessible and delicious for everyone.
Ingredients
In our gluten-free beer bread recipes, we prioritize straightforward, high-quality ingredients to create a moist, flavorful loaf that’s simple to prepare and accessible for all bakers. We order these ingredients as they are typically used in the mixing and baking process, ensuring precision and ease.
Basic Gluten-Free Beer Bread Ingredients
To achieve the perfect texture and taste, here’s our curated list of essentials. We recommend gluten-free flour blends for their versatility and ability to mimic traditional bread without compromising on quality.
- Gluten-free flour blend: 3 cups (we suggest a store-bought mix like Bob’s Red Mill for its reliable consistency; sift it before use to avoid lumps and ensure even incorporation).
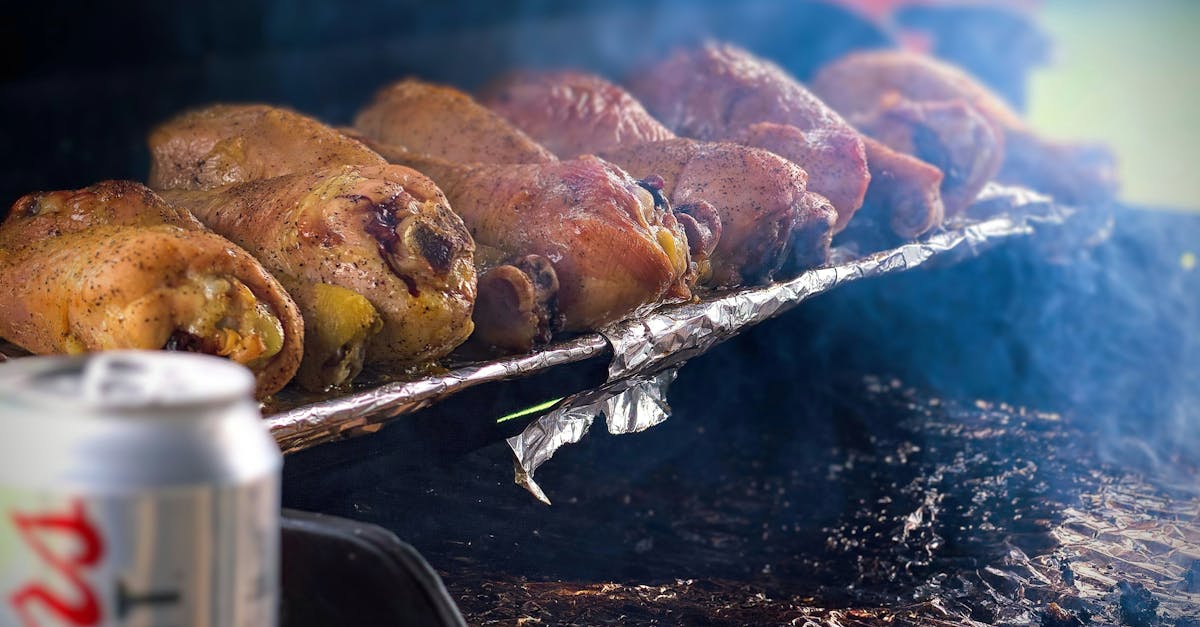
- Gluten-free beer: 12 ounces (choose a light lager or ale; let it sit at room temperature to enhance yeast activation and flavor infusion—popular options include brands like Omission or Redbridge).
- Baking powder: 1 tablespoon (this acts as our leavening agent; make sure it’s fresh for optimal rise in this no-knead method).
- Granulated sugar: ¼ cup (added next to balance the beer’s bitterness and promote a golden crust; opt for organic if available).
- Salt: 1 teaspoon (we incorporate this early to season the dough and enhance overall flavor profile).
- Unsalted butter: 4 tablespoons, melted (used for brushing the top; prepare by melting just before baking to keep the bread tender and glossy).
Optional Add-Ins for Variations
For customization, we include these extras to elevate your gluten-free beer bread. These are added during the final mixing stage for even distribution.
- Shredded cheese: 1 cup (such as cheddar or parmesan; ideal for a savory twist that pairs well with soups).
- Fresh herbs: 2 tablespoons, chopped (like rosemary or thyme; incorporate for an aromatic boost that complements the beer’s earthiness).
- Seeds or nuts: ½ cup (e.g., sunflower seeds or chopped almonds; toast them lightly beforehand for added crunch and nutrition).
| Nutrient | Per Serving (1 slice) |
|---|---|
| Calories | 180 |
| Total Fat | 5g |
| Carbohydrates | 28g |
| Protein | 2g |
| Fiber | 3g |
Equipment Needed
To prepare our gluten-free beer bread, we rely on a few essential tools that ensure a seamless baking process. These items help us achieve a perfectly moist and flavorful loaf without any fuss.
Basic Tools Required
We start with the core equipment, listed in the order we’ll use them during preparation:
- Large mixing bowl: This is where we combine our gluten-free flour blend, baking powder, and other dry ingredients for even mixing.
- Measuring cups and spoons: Accuracy is key for our recipe, so we use these to measure out the gluten-free beer, granulated sugar, and salt precisely.
- Whisk or wooden spoon: We prefer a whisk for blending the wet and dry ingredients together quickly, ensuring a smooth batter without lumps.
- Loaf pan (approximately 9×5 inches): This is crucial for shaping our bread; we recommend a non-stick version to prevent sticking and promote even baking.
- Oven thermometer: To guarantee our bread bakes at the optimal temperature, we use this for precise heat monitoring.
- Cooling rack: After baking, we transfer the loaf here to cool evenly, preserving its texture and flavor.
By having these tools on hand, we make the process efficient and enjoyable, allowing us to focus on creating a delicious gluten-free beer bread that everyone can savor.
Instructions
Now that we have gathered our essential ingredients and tools, we guide you through crafting a moist, flavorful gluten-free beer bread with ease and precision.
Prep
Before we begin mixing, let’s prepare our workspace to ensure everything flows smoothly. First, preheat the oven to 375°F for even baking. Grease a 9×5-inch loaf pan with unsalted butter or line it with parchment paper to prevent sticking. Measure out 3 cups of gluten-free flour blend, 1 tablespoon of baking powder, 1 teaspoon of salt, and ¼ cup of granulated sugar into separate bowls for accuracy. If using optional add-ins like 1 cup of shredded cheese or 2 tablespoons of fresh herbs, chop or grate them now to enhance the bread’s savory notes.
Mix
With our ingredients prepped, we move on to combining them for a batter that’s simple yet transformative. In a large mixing bowl, whisk together the 3 cups of gluten-free flour blend, 1 tablespoon of baking powder, 1 teaspoon of salt, and ¼ cup of granulated sugar until the mixture is uniform and airy. Slowly pour in one 12-ounce bottle of gluten-free beer to activate the bubbles, then stir gently with a wooden spoon until just combined—avoid overmixing to keep the texture light and tender. If desired, fold in your add-ins like shredded cheese or herbs for a burst of flavor that makes the bread irresistibly aromatic and customizable.
Bake
Now it’s time to bake our loaf to golden perfection, transforming the batter into a crusty exterior with a soft, chewy inside. Pour the batter into the prepared loaf pan, spreading it evenly with a spatula. Brush the top with 2 tablespoons of melted unsalted butter for a glossy finish and extra richness. Place the pan in the preheated oven and bake for 45 to 50 minutes, or until a toothpick inserted into the center comes out clean and the crust is a deep golden brown—expect a warm, yeasty aroma that fills your kitchen.
Cool
After baking, we let the bread cool to set its structure and enhance its flavors for the best slicing experience. Remove the pan from the oven and let it rest on a cooling rack for 10 minutes to release steam. Carefully invert the loaf onto the rack to cool completely for another 30 to 45 minutes, allowing the texture to firm up while preserving that moist, hearty crumb we love in gluten-free beer bread.
Make-Ahead and Storage
After mastering the simple steps to bake our gluten-free beer bread, we can help you plan ahead for convenience and ensure your loaf stays fresh and flavorful. Whether you’re prepping for a busy week or storing extras, these tips keep the bread’s moist texture and rich taste intact.
Make-Ahead Tips
We recommend preparing gluten-free beer bread in advance to save time without sacrificing quality. Here’s how to do it step-by-step:
- Mix the batter ahead: Combine all dry ingredients and wet ingredients as outlined in our instructions, but stop before baking. Cover the batter tightly with plastic wrap or transfer it to an airtight container. Store it in the refrigerator for up to 24 hours. This allows the flavors to meld, resulting in a more aromatic and tender loaf when baked.
- Bake and cool fully: If you prefer to bake first, let the bread cool completely on a wire rack after removing it from the oven. Once cooled, wrap it securely in plastic wrap or aluminum foil. You can prepare the full loaf up to 2 days in advance and store it at room temperature, or freeze it for longer (more on that below).
- Thaw and reheat: For frozen loaves, transfer them to the refrigerator overnight to thaw slowly. This preserves the bread’s soft crumb and prevents sogginess. Reheat in a preheated oven at 350°F for 10-15 minutes to restore its warm, golden crust and fresh-baked aroma.
Storage Guidelines
Proper storage is key to maintaining the delightful texture and taste of our gluten-free beer bread. Below, we break down the best methods based on duration.
To help you track storage options clearly, we’ve compiled the details in the following table:
| Storage Method | Duration | Instructions | Notes on Quality |
|---|---|---|---|
| Room Temperature | Up to 2 days | Wrap the cooled loaf in a breathable cloth or paper bag and place it in a cool, dry spot. | Keeps the bread’s crust crisp and interior moist, ideal for immediate enjoyment. |
| Refrigerator | Up to 5 days | Seal the loaf in an airtight container or zip-top bag to prevent drying out. | Flavors remain vibrant, but we suggest slicing and toasting before serving to refresh the texture. |
| Freezer | Up to 3 months | Double-wrap the loaf in plastic wrap, then aluminum foil, or use a freezer-safe bag. | Freezing locks in the bread’s hearty flavor; thaw in the fridge for best results to avoid any loss of moisture. |
By following these guidelines, we ensure your gluten-free beer bread stays as delicious as the day you baked it, ready for any meal or snack.
Conclusion
We’ve explored gluten-free beer bread recipes that make baking fun and accessible for everyone. It’s rewarding to create moist, flavorful loaves without gluten worries.
Our tips empower you to customize and enjoy these breads anytime. Let’s keep baking simple and delicious for all occasions.
Frequently Asked Questions
What is gluten-free beer bread?
Gluten-free beer bread is a simple, no-knead alternative to traditional bread, made with gluten-free flours and beer for a moist, flavorful loaf. It’s perfect for those avoiding gluten, offering versatility for meals like pairing with soups. This easy recipe makes baking accessible for beginners or busy schedules, focusing on high-quality ingredients for great taste.
How do I make gluten-free beer bread?
To make gluten-free beer bread, preheat your oven and mix dry ingredients like gluten-free flour, baking powder, sugar, and salt in a bowl. Add gluten-free beer and butter, stirring gently until combined. Pour into a greased loaf pan and bake at the specified temperature until golden. Cool on a rack before slicing. The process is straightforward and takes about an hour total.
What ingredients are needed for gluten-free beer bread?
Key ingredients include a gluten-free flour blend, gluten-free beer, baking powder, granulated sugar, salt, and unsalted butter. Optional add-ins like cheese, herbs, seeds, or nuts allow for customization. Focus on high-quality components for a moist, flavorful result, keeping the list simple for easy preparation.
What equipment do I need to bake gluten-free beer bread?
Essential tools include a large mixing bowl, measuring cups and spoons, a whisk or wooden spoon, a loaf pan, an oven thermometer, and a cooling rack. These items ensure accurate mixing, even baking, and proper cooling, making the process efficient and enjoyable for home bakers.
Is gluten-free beer bread suitable for beginners?
Yes, it’s ideal for beginners as it’s a no-knead recipe that requires minimal skills and basic ingredients. The step-by-step process is straightforward, taking about an hour with simple mixing and baking. It’s forgiving and customizable, making baking fun and accessible even for those with busy schedules.
How should I store gluten-free beer bread?
Store cooled bread at room temperature for up to 2 days in an airtight container. For longer freshness, refrigerate batter for up to 24 hours or freeze the baked loaf for up to 3 months. Thaw in the fridge and reheat if needed to maintain texture and flavor.
What are the nutritional benefits of gluten-free beer bread?
A serving typically provides around 200-300 calories, with moderate carbs, protein, and fiber from gluten-free flours and add-ins. It’s lower in gluten-related issues, offering healthy fats from butter and nutrients from optional herbs or nuts. Always check specific recipes for exact values to fit your dietary needs.