
We’ve always been fans of those warm, fluffy Golden Corral yeast rolls that steal the show at any buffet. Originating from the beloved restaurant chain these buttery treats bring comfort and nostalgia to the table making them a family favorite for gatherings.
Now we’re excited to share our take on this classic recipe so you can bake them fresh at home. With simple ingredients and straightforward steps you’ll capture that signature golden crust and soft interior we all crave. Let’s dive into the joy of homemade rolls that rival the originals.
Ingredients
To recreate the comforting, golden-crusted goodness of our homemade Golden Corral Yeast Rolls, we start with these key ingredients. We’ve organized them in the order they’ll be used, including specific measurements and prep notes for accuracy and ease.
- Active dry yeast: 2 1/4 teaspoons, proofed in warm water to ensure it activates properly for a light, airy rise.
- Warm water: 1/4 cup (around 110°F), used to dissolve the yeast and kickstart fermentation.
- Granulated sugar: 1/4 cup, divided to feed the yeast and enhance the rolls’ subtle sweetness.
- Whole milk: 1 cup, warmed to about 110°F, which provides moisture and a tender texture.
- Unsalted butter: 1/4 cup, melted, for richness and a signature golden sheen on the rolls.
- Large egg: 1, beaten, to add structure and a soft interior.
- All-purpose flour: 4 cups, sifted, as the base for the dough to achieve that perfect, fluffy consistency.
- Salt: 1 teaspoon, added to balance flavors and strengthen the dough’s structure.
Required Tools and Equipment
To seamlessly transition from our ingredient list, we need to gather the right tools and equipment to ensure our Golden Corral Yeast Rolls turn out perfectly golden and fluffy. Having the proper items on hand makes the baking process efficient and enjoyable, allowing us to focus on creating that signature soft interior and irresistible crust.
Here’s a detailed list of the essential tools, organized by the order we’ll likely use them in the recipe:
- Measuring cups and spoons: We start with these for precise measurements of ingredients like flour, sugar, and liquids. Accuracy is key to achieving the perfect rise in our yeast rolls.
- Large mixing bowl: This will be our first stop for combining the yeast mixture with dry ingredients. Opt for a sturdy, heat-resistant bowl to handle warm liquids.
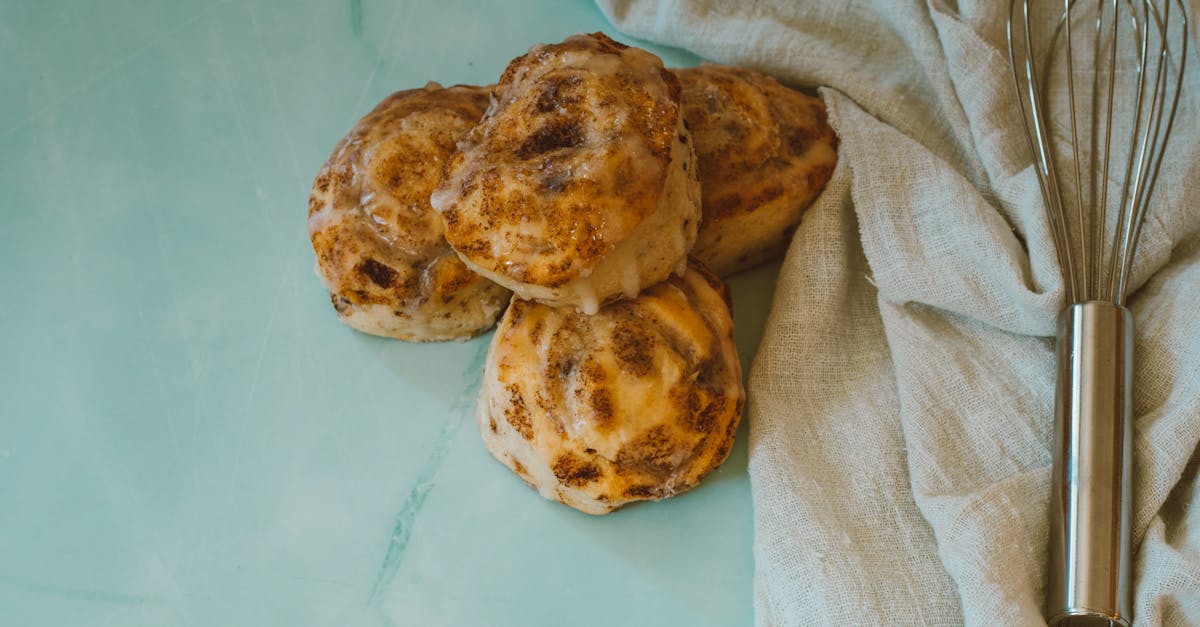
- Whisk or wooden spoon: Ideal for stirring the dough initially, ensuring even distribution of yeast and other components for a consistent texture.
- Stand mixer with dough hook (or hand mixer): If available, this tool simplifies kneading the dough. We recommend it for efficiency, but a strong arm and a bowl will work if mixing by hand.
- Kitchen scale: For weighing flour accurately, which helps avoid over-flouring and ensures our rolls have that light, airy quality Golden Corral is known for.
- Baking sheet or 9×13-inch pan: These are crucial for shaping and baking the rolls. A non-stick pan works best to prevent sticking and promote even browning.
- Oven thermometer: We use this to verify our oven temperature, as precise heat is vital for the yeast to activate properly and yield those fluffy results.
- Pastry brush: Perfect for applying an egg wash or melted butter on top, giving our rolls that glossy, golden finish.
- Timer and cooling rack: The timer keeps track of proofing and baking times, while the cooling rack allows the rolls to cool evenly without sogginess.
With these tools prepared, we’re all set to move forward and dive into the steps of crafting our homemade Golden Corral Yeast Rolls.
Instructions
Now that we have gathered our ingredients and essential tools, let’s walk through the steps to create our homemade Golden Corral Yeast Rolls. We promise these instructions will lead to rolls with a golden crust and irresistibly soft interior that capture the nostalgic warmth of the originals.
Prepare the Dough
To start, we activate the yeast and mix the dough for optimal rise and flavor. In a large mixing bowl, dissolve 1 packet (2 1/4 teaspoons) active dry yeast in warm water (about 110°F) and stir in 1/4 cup granulated sugar. Let this mixture sit for 5-10 minutes until it becomes foamy, indicating the yeast is alive and ready.
Next, we incorporate the wet ingredients. Heat 1/2 cup whole milk and 1/4 cup unsalted butter in a saucepan over medium heat until the butter melts and the mixture reaches about 110°F. Remove from heat and whisk in 1 large egg until well combined. Pour this warm mixture into the yeast bowl and stir gently.
Add the dry ingredients gradually. Mix in 3 1/2 cups all-purpose flour and 1 teaspoon salt, starting with 3 cups of flour to form a shaggy dough. Use a stand mixer with a dough hook on medium speed or knead by hand on a lightly floured surface for 8-10 minutes, adding the remaining flour as needed until the dough is smooth, elastic, and no longer sticky. This step ensures our dough develops the perfect texture for those fluffy rolls.
First Rise
Once the dough is prepared, we let it rise to achieve that light, airy quality. Transfer the dough to a lightly oiled large mixing bowl, turning it once to coat all sides with oil. Cover the bowl tightly with plastic wrap or a damp kitchen towel and place it in a warm, draft-free spot such as an oven with the light on.
Allow the dough to rise for 1 to 1.5 hours or until it doubles in size. We check this by gently pressing it with a finger; if the indentation remains, it’s ready. This first rise infuses the dough with flavor and sets the stage for the soft and pillowy interior that makes Golden Corral Yeast Rolls so memorable.
Shape the Rolls
With the dough risen, we shape it into individual rolls for even baking. Punch down the dough gently to release air bubbles, then turn it out onto a lightly floured surface. Divide the dough into 12-15 equal portions using a kitchen scale for accuracy—we aim for each piece to weigh about 60-70 grams.
Roll each portion into a smooth ball by tucking the edges underneath and pinching to seal. Place the shaped rolls on a greased baking sheet or in a baking pan, spacing them about 2 inches apart to allow for expansion. For added flair, we brush the tops lightly with melted unsalted butter to enhance the golden crust and keep the surfaces glossy.
Second Rise
To ensure maximum fluffiness, we give the shaped rolls a second rise. Cover the baking sheet loosely with a clean kitchen towel and let the rolls sit in a warm area for 30-45 minutes or until they puff up and nearly double in size.
During this time, we preheat our oven to 375°F using the oven thermometer for precision. This second rise is crucial as it helps develop the tender crumb and signature texture of our homemade Golden Corral Yeast Rolls, making each bite irresistibly fresh and warm.
Bake
Finally, we bake the rolls to golden perfection. Place the risen rolls in the preheated oven and bake for 12-15 minutes, rotating the pan halfway through for even browning. Watch closely as they turn a beautiful golden brown on top while the interiors stay soft and steaming.
Once baked, remove the rolls from the oven and immediately brush them with more melted unsalted butter for extra flavor and shine. Transfer them to a cooling rack for 5-10 minutes before serving, allowing the aromas of fresh-baked goodness to fill the kitchen.
Make-Ahead Instructions
To make our homemade Golden Corral Yeast Rolls even more convenient for busy schedules, we often prepare them in advance. This allows the dough to develop flavor while saving time on the day of serving. Below, we outline step-by-step instructions for making ahead, focusing on refrigeration and freezing methods to maintain that signature soft interior and golden crust.
Preparing the Dough Ahead
We recommend preparing the dough up to the first rise and storing it for later use. This method ensures the yeast activates fully while giving you flexibility.
- Step 1: After mixing the dough as described in our step-by-step instructions, cover the bowl tightly with plastic wrap or a damp cloth. Let it rise in a warm place until doubled in size, which typically takes 1 to 1.5 hours.
- Step 2: Once risen, gently punch down the dough to release air bubbles. Transfer it to an airtight container or wrap it securely in plastic wrap.
- Step 3: Refrigerate the dough for up to 24 hours. This slow chill enhances the flavor, making the rolls taste even more like the comforting originals from Golden Corral.
Shaping and Second Rise Ahead
For even more convenience, shape the rolls after the first rise and let them undergo the second rise in the fridge.
- Step 1: After the first rise and punching down, divide the dough into individual rolls and place them on a greased baking sheet as outlined earlier.
- Step 2: Cover the shaped rolls loosely with plastic wrap and refrigerate them for up to 12 hours. This allows for a slow, controlled second rise, resulting in extra fluffy and tender rolls.
- Step 3: When ready to bake, remove the rolls from the fridge and let them sit at room temperature for 30 to 45 minutes until they puff up slightly. Preheat your oven and bake as directed for that irresistible golden perfection.
Freezing Options
Freezing is ideal for longer storage, preserving the fresh-baked aroma and texture of our Golden Corral Yeast Rolls.
- Option 1: Freeze Unbaked Rolls
After shaping the rolls post-first rise, place them on a baking sheet and freeze until solid (about 1-2 hours). Transfer to a freezer-safe bag or container. They can be stored for up to 2 months. To bake, thaw in the fridge overnight, let rise at room temperature for 1 hour, and then bake as usual.
- Option 2: Freeze Baked Rolls
Bake the rolls completely, then cool them on a rack. Wrap individually in plastic wrap and store in a freezer bag for up to 1 month. To serve, thaw at room temperature for 1-2 hours and reheat in a 350°F oven for 5-7 minutes until warm and soft, reviving that buttery, nostalgic appeal.
For quick reference on storage times and thawing, here’s a summary in the table below:
| Make-Ahead Method | Maximum Storage Time | Thawing/Baking Notes |
|---|---|---|
| Refrigerated Dough | Up to 24 hours | Let sit at room temperature for 30 minutes before proceeding |
| Refrigerated Shaped Rolls | Up to 12 hours | Allow 30-45 minutes to rise before baking |
| Frozen Unbaked Rolls | Up to 2 months | Thaw overnight in fridge, then rise and bake |
| Frozen Baked Rolls | Up to 1 month | Thaw at room temperature and reheat in oven |
By following these make-ahead strategies, we ensure your Golden Corral Yeast Rolls remain fresh, flavorful, and ready to impress at any gathering.
Conclusion
We’ve loved diving into this homemade take on Golden Corral Yeast Rolls
and we’re sure you’ll find it just as delightful.
It’s all about that warm satisfaction of baking from scratch
so you can share those nostalgic flavors anytime.
Give it a try and let us know how your rolls turn out—we’re confident they’ll become a staple in your kitchen.
Frequently Asked Questions
What are Golden Corral Yeast Rolls?
Golden Corral Yeast Rolls are soft, fluffy dinner rolls known for their golden crust and comforting flavor. They’re a nostalgic favorite at family gatherings, and this article shares a simple homemade recipe to recreate them at home for that same warm, inviting taste.
What ingredients are needed for the homemade recipe?
The key ingredients include active dry yeast, warm water, granulated sugar, whole milk, unsalted butter, a large egg, all-purpose flour, and salt. Use the provided measurements and prep notes for accurate results, ensuring a perfect balance of flavors and texture in your rolls.
What tools are required to make these yeast rolls?
Essential tools include measuring cups and spoons, a large mixing bowl, a whisk or wooden spoon, a stand or hand mixer, a kitchen scale, a baking sheet, an oven thermometer, a pastry brush, a timer, and a cooling rack. These items help achieve the ideal rise, texture, and golden finish.
How do I make Golden Corral Yeast Rolls at home?
Start by activating the yeast in warm water and sugar. Mix in wet ingredients like milk, butter, and egg, then add flour and salt to form a smooth dough. Let it rise, shape into rolls, allow a second rise, bake until golden, and brush with melted butter. Cool before serving for best results.
Can I prepare these rolls ahead of time?
Yes, make the dough up to the first rise and refrigerate for up to 24 hours to enhance flavor. Shape the rolls after rising and chill for up to 12 hours. For longer storage, freeze unbaked or baked rolls; thaw and bake as needed to maintain their fresh, fluffy texture.
How should I store the baked rolls?
Store baked rolls in an airtight container at room temperature for up to 2 days. For extended freshness, freeze them; reheat in a warm oven to restore their soft interior and golden crust, ensuring they taste just-baked when served.